Free Shipping on All Orders | 30-Day Easy Returns
How to Measure Dog Paws & Train Them to Wear Shoes
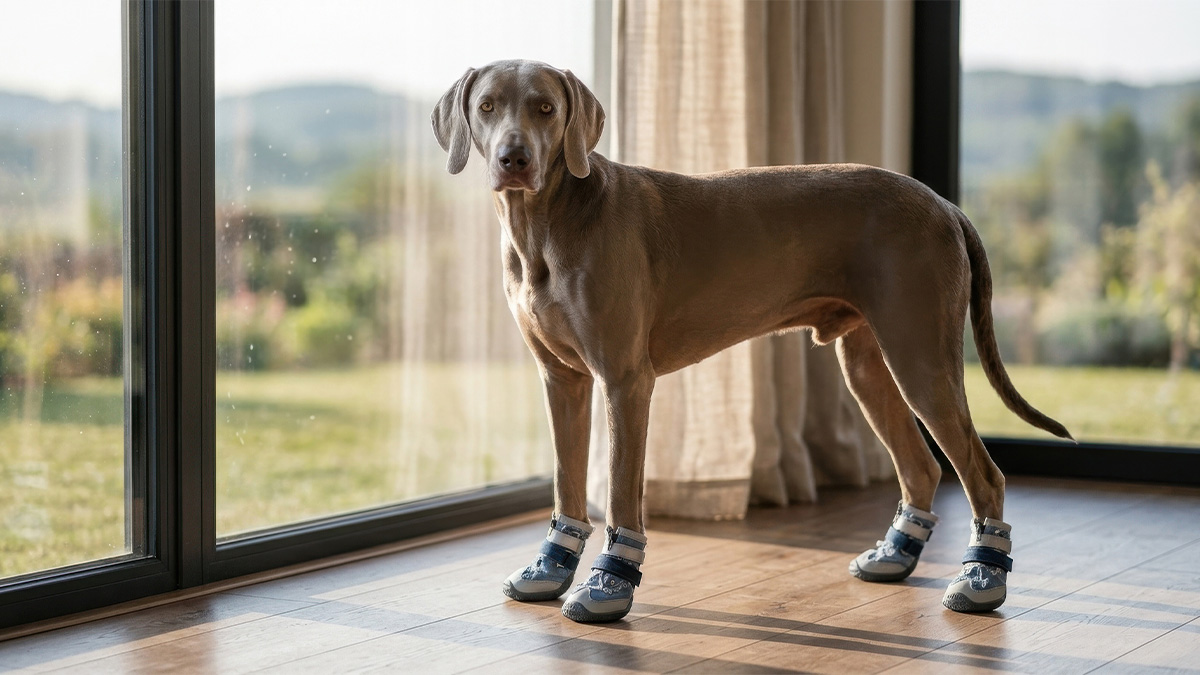
Table of Contents
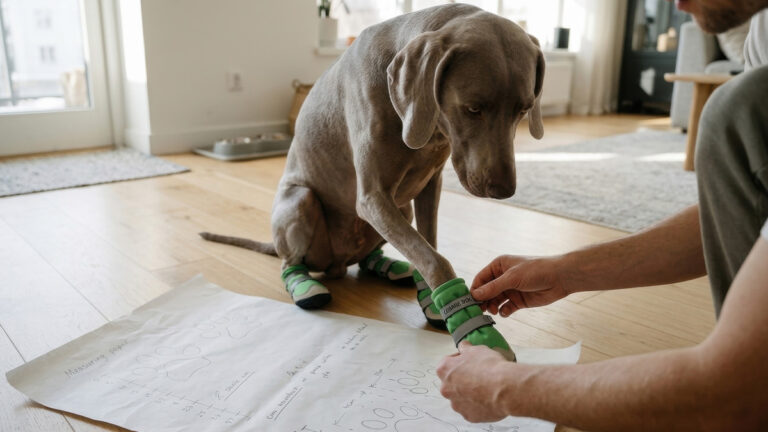
If there’s one lesson every dog owner learns the hard way, it’s this: a shoe that looks perfect on the shelf can turn into a disaster the moment it hits your dog’s actual foot. Learning how to measure dog paws accurately is genuinely the single most important step in this whole process — it’s the difference between a boot that stays put through a two-mile hike and one your dog kicks off in the driveway.
Get the fit wrong, and you’ll know it fast. Shoes that run too small squeeze the toes and stop the paw from doing what paws naturally do — spread out and flex under weight. Go too big, and boots twist sideways, slide off mid-walk, or throw off your dog’s whole stride.
The good news? None of this requires guesswork. With a careful measuring method and a patient, treat-fueled training approach, you can get your dog comfortably — even happily — wearing protective footwear. To understand front vs. back paw differences and split-sizing dynamics, read our ultimate dog boot sizing and fit guide to get the perfect match.
Here’s exactly what we’ll cover: the tools you actually need, a five-step measuring process you can do on your kitchen floor tonight, what to do when your dog’s paw falls awkwardly between sizes, and a step-by-step way to train your dog to wear shoes without turning it into a wrestling match.
Why Accurate Paw Measurement Actually Matters
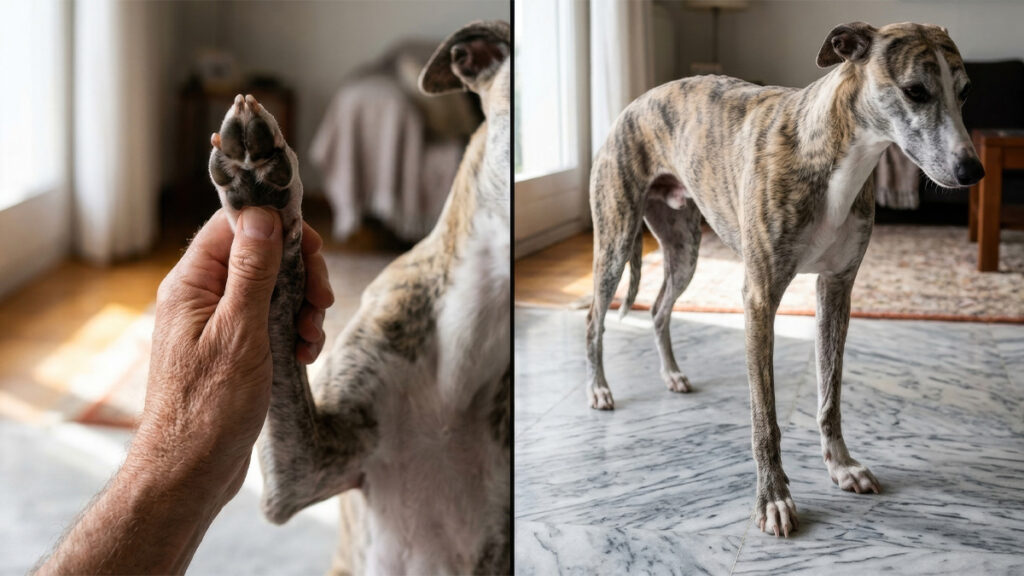
Getting the size right starts with understanding something a lot of owners miss: a dog’s paw doesn’t stay the same shape all the time. The second your dog puts weight on that foot, the toes spread outward — vets call this paw splay, and it’s completely normal.
Here’s why that matters for sizing: if you measure the paw while it’s lifted in the air (which is what most people instinctively do), you’ll get a narrower reading than the paw’s real, working size. Order based on that number, and you’ll end up with a shoe that feels fine in your hand but pinches the second your dog takes a step.
Any dog shoe sizing guide worth trusting will tell you the same thing — always measure while your dog is standing naturally, with the paw flat and fully weight-bearing on the ground. That’s the size that matters.
Get the sizing wrong, and here’s what tends to happen:
- Chafing around the pads or ankle area
- Shoes working themselves loose or falling off mid-walk
- Toes squeezed together, restricting natural movement
- A dog who’s noticeably less comfortable walking
- A much harder, longer adjustment period
A properly fitted shoe protects the paw and lets it move the way it’s supposed to — those two things aren’t in conflict when the sizing is right.
The American Kennel Club’s information on canine paw anatomy and movement is a great resource if you want to understand exactly why paw splay happens and why it matters so much for fit.
How to Measure Dog Paws in 5 Simple Steps
Good news — figuring out how to measure dog paws for boots at home doesn’t call for anything fancy. A piece of paper and a few minutes of your dog’s patience will get you there.
What You’ll Need
- A blank sheet of paper
- A pencil or pen
- A ruler or measuring tape
- A handful of your dog’s favorite treats (bribery is a legitimate tool here)
Honestly, the single biggest factor in getting this right isn’t equipment — it’s patience. A relaxed, calm dog stands more naturally, and a naturally standing dog gives you a measurement you can actually trust.
Step 1: Get the Paw on the Paper
Lay a sheet of paper on a hard, flat surface — tile or hardwood works best, since carpet tends to shift things around.
Have your dog stand naturally on the paper, and double-check that the paw you’re measuring is genuinely bearing weight, not just resting there lightly. If you want the most accurate reading possible, gently lift the opposite paw for a second or two so the tested foot is carrying normal standing pressure, just like it would mid-walk.
Step 2: Mark the Widest and Longest Points
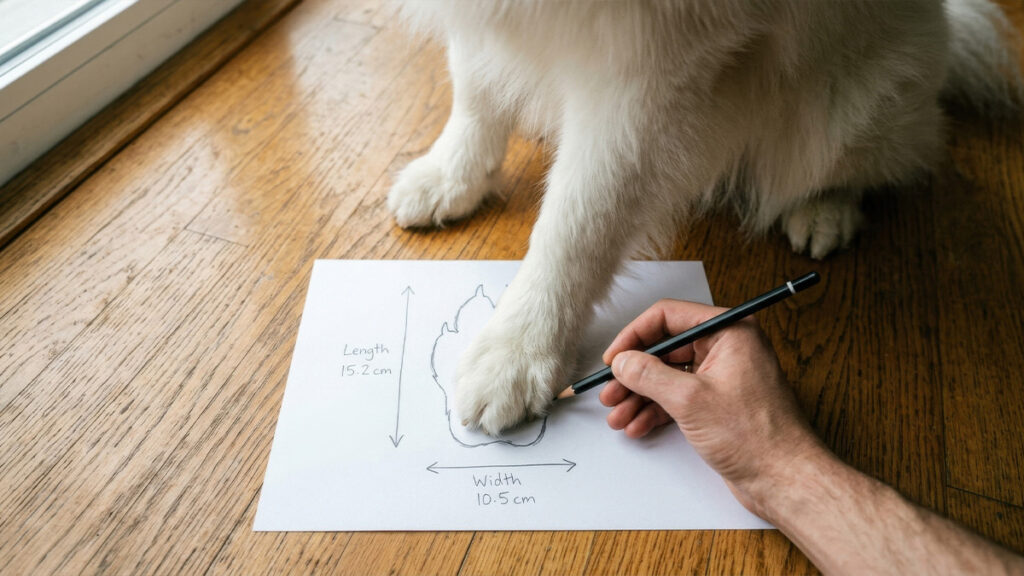
Holding your pencil straight up and down (this keeps the outline accurate — angling it distorts the shape), trace the outer edges of the paw.
You’re looking for two measurements:
- Width: the widest point across the paw pad
- Length: from the very back of the paw to the tip of the longest claw
Don’t skip the claw length — some shoe designs need that extra front clearance built in, and leaving it out is a common reason boots end up too tight at the toe.
Resist the urge to eyeball it. A couple of millimeters really can be the difference between “comfortable” and “why is my dog limping.”
Step 3: Measure the Distance
Once your dog steps off the paper, measure the distance between your marked points with your ruler or tape.
Write down:
- Paw length
- Paw width
Get as precise as you can — nearest millimeter or fraction of an inch. And if your dog’s front and back paws look different in size (very common), measure and record each one separately.
Step 4: Check It Against a Real Sizing Chart
With your numbers in hand, compare them to the manufacturer’s actual sizing chart — not a general estimate based on breed or weight class.
This part trips people up constantly: two dogs of the exact same weight can have noticeably different paw shapes. Don’t skip the chart step just because you “know” your dog is a medium.
If your measurement lands between two sizes, go with paw width as your deciding factor — a shoe that’s too narrow creates pressure points fast, and that’s usually more uncomfortable than a slightly loose fit. When in doubt, size up rather than force a smaller shoe onto a paw that doesn’t quite fit.
Once you have your baseline numbers, follow our practical fastening checklist to ensure a snug fit and prevent boots from slipping off before heading out.
For the full breakdown: dog shoe size guide.
Step 5: Factor In Paw Trimming & Socks
Before you lock in a size, a couple of small details are worth thinking through.
Long fur between the paw pads adds bulk that can throw off your measurement — a quick trim before shoe shopping helps keep things accurate and reduces friction once the shoes are on.
Planning to layer socks under the boots? Leave roughly 2–3 mm of extra room to account for that added thickness. This comes up a lot with owners measuring dog paws for boots meant for winter use, where an insulated liner sock is often part of the setup.
Sizing Solutions: What to Do If Your Dog Is Between Sizes
This happens more often than you’d think — you measure carefully, check the chart, and your dog’s paw sits right on the border between two sizes.
If you’re stuck wondering what to do if dog paws are between sizes, the safe move is almost always to size up.
A slightly larger boot gives you room to work with:
- Snugging things down with the Velcro straps
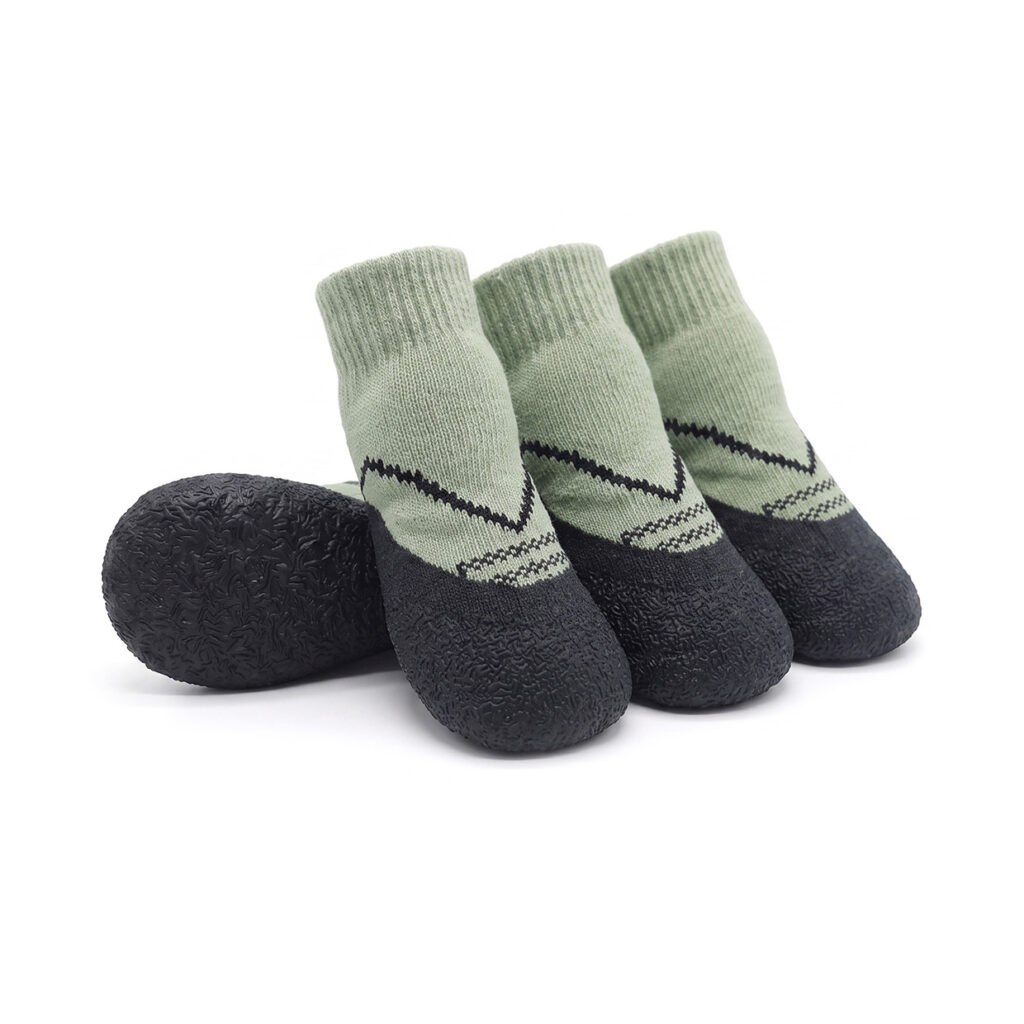
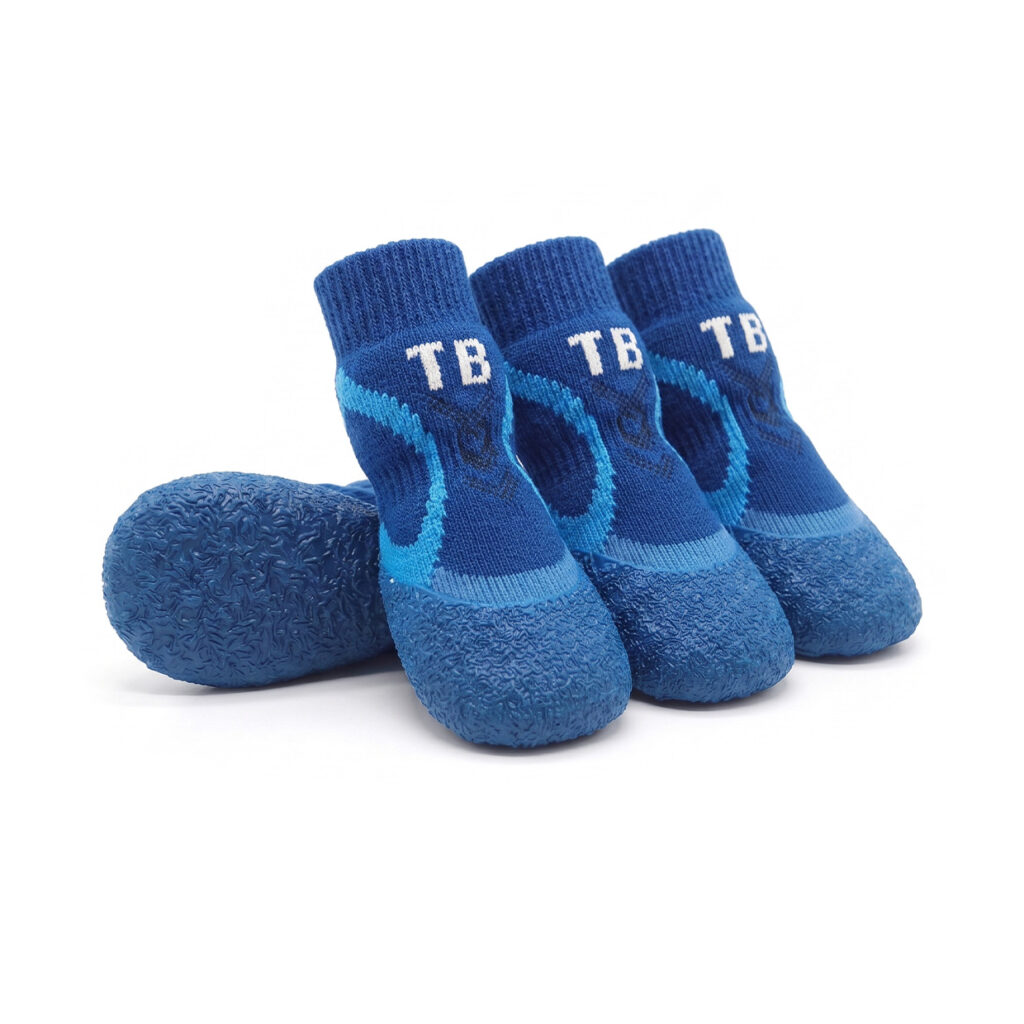
- Adding a liner sock for a closer fit
- Tucking in a bit of extra inner padding
A boot that’s too small, on the other hand, gives you nothing to work with — you can’t stretch rubber, and a compressed paw is a compressed paw no matter how you adjust the straps.
One more thing worth checking: front and back paws often aren’t identical. A lot of dogs carry more weight through their front legs, which tends to make front paws noticeably wider. Measure both pairs before you order — some dogs genuinely need a different size up front than they do in back.
For Extra Comfort or a Closer Custom Fit
How to Train Your Dog to Wear Shoes Comfortably
Here’s something worth knowing upfront: even a shoe that fits your dog perfectly can still feel bizarre to them at first. Dogs read the world through their paws in a way we don’t really appreciate until we cover those paws up. That’s why easing into it — rather than just strapping shoes on and heading out the door — makes such a big difference.
The goal isn’t getting your dog to tolerate shoes. It’s helping them genuinely not mind them, which comes down to building a positive association step by step.
The ASPCA’s guidance on positive reinforcement training lines up closely with the approach below — reward calm behavior, never force compliance.
Phase 1: Touch and Treat (No Shoes Yet)
Before shoes ever enter the picture, get your dog comfortable with you simply handling their paws.
Touch each paw gently for a few seconds, then immediately follow with a high-value treat. Repeat this over a few short sessions until your dog stays relaxed through it.
This step matters a lot more than it sounds like it should — especially for dogs who already flinch or pull away when you touch their feet.
Phase 2: Let Them Meet the Shoes
Set the shoes down near your dog and just let them investigate on their own terms.
Let your dog sniff them, nudge them, maybe paw at them a little. Watch calmly while you handle the shoes yourself, and reward any relaxed, curious behavior with treats.
You’re teaching one simple lesson here: shoes showing up means good things happen.
Phase 3: One Paw, One Shoe, One Small Win
Now start small — literally one paw at a time.
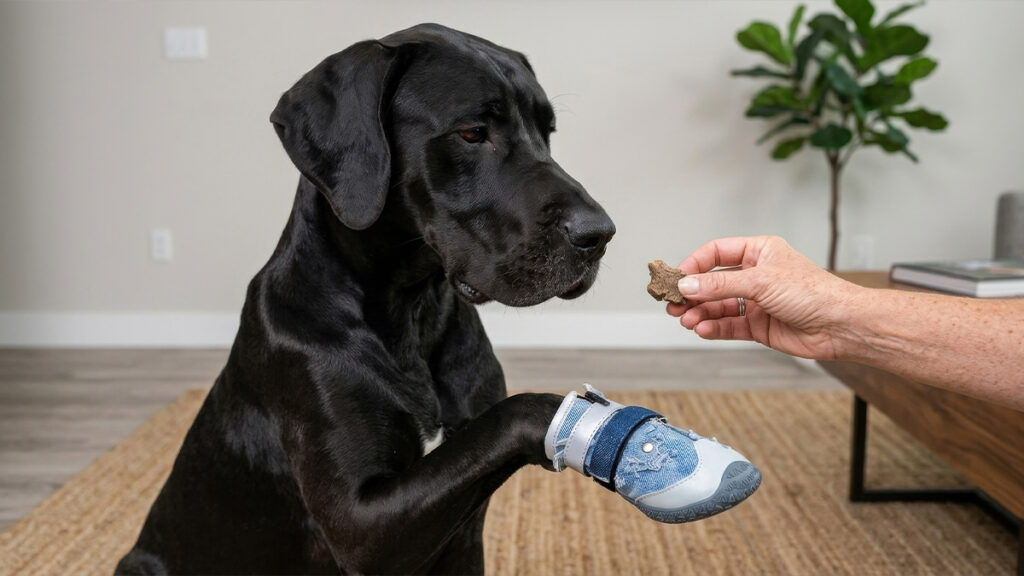
Slip one shoe on, fasten the Velcro strap securely but not tight, and immediately reward with a treat or their favorite toy. Keep this first attempt genuinely brief — a few seconds is fine — then take the shoe back off and try again a little later.
Build up gradually from there. Most dogs work their way up to all four shoes over several short sessions rather than one long one.
Phase 4: Walk It Off — Indoors First, Then Outside
Once your dog seems okay wearing all four shoes, start with a few laps around the living room. Carpet and hardwood give your dog a low-stakes environment to figure out this weird new sensation on their feet.
Don’t be surprised if your dog immediately starts high-stepping, shaking their legs, or freezing in place. This sensory reaction is completely normal — to help them move past it, read our in-depth guide on how to get your dog used to shoes and stop the funny walk.
After a few solid indoor sessions, take it outside. New smells and the general excitement of being outdoors tend to distract dogs from the footwear faster than you’d expect — most forget they’re even wearing shoes within a few minutes.
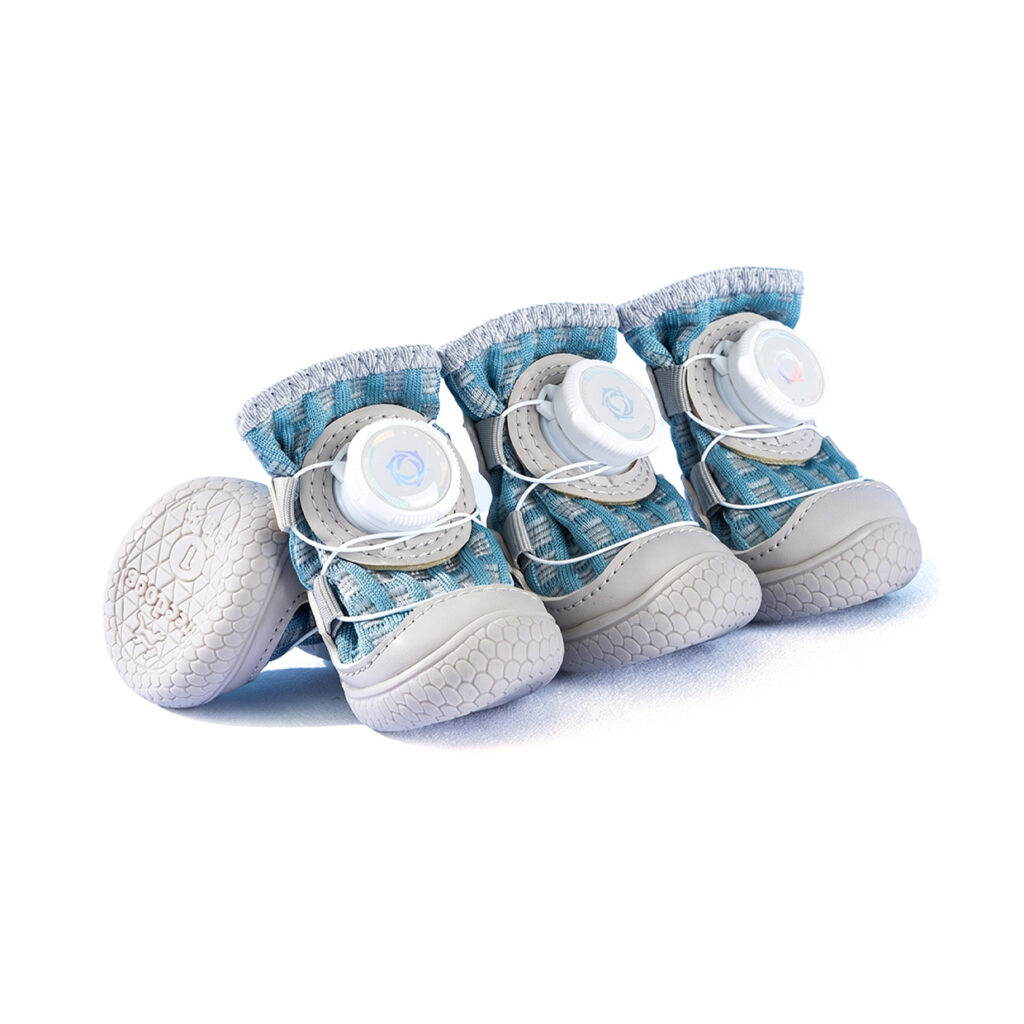
If you are still unsure whether your pup needs everyday shoes, outdoor boots, or indoor socks, refer to our comprehensive dog paw wear selection guide.
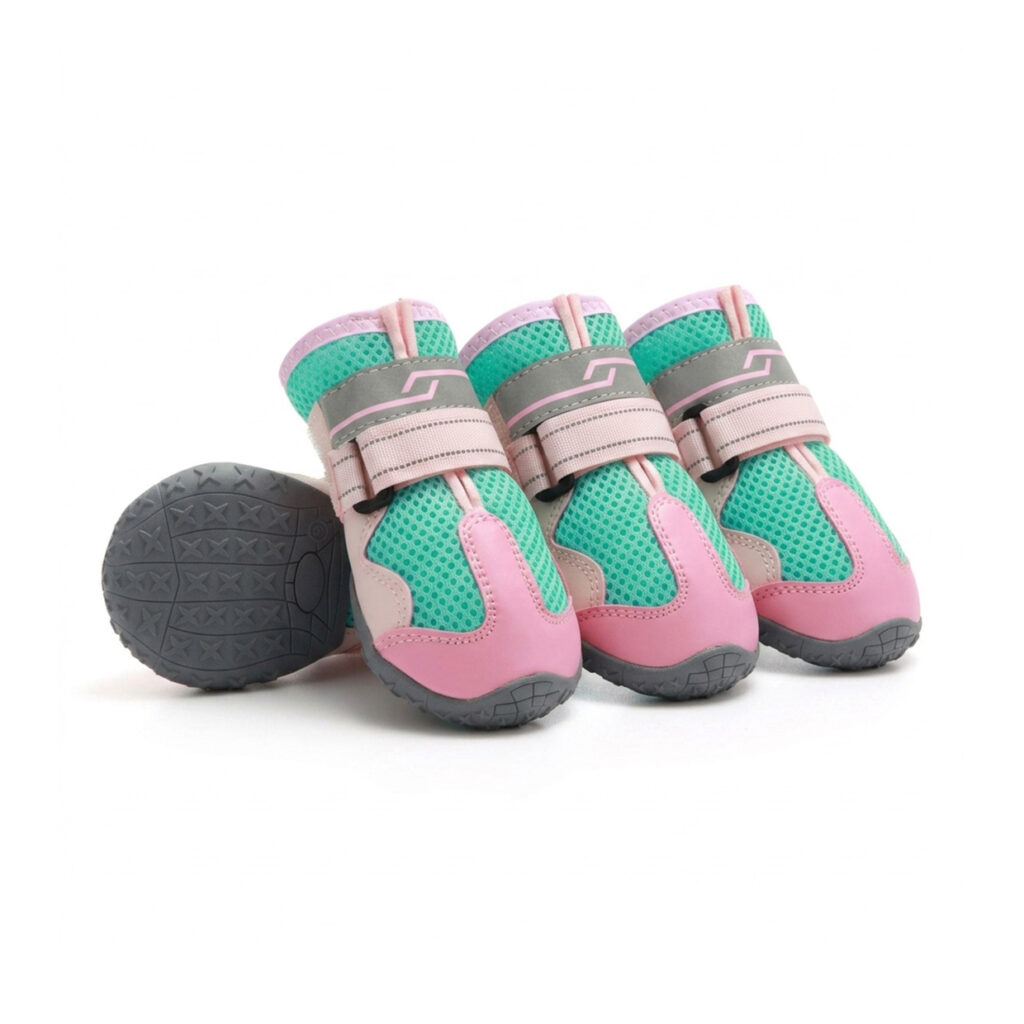
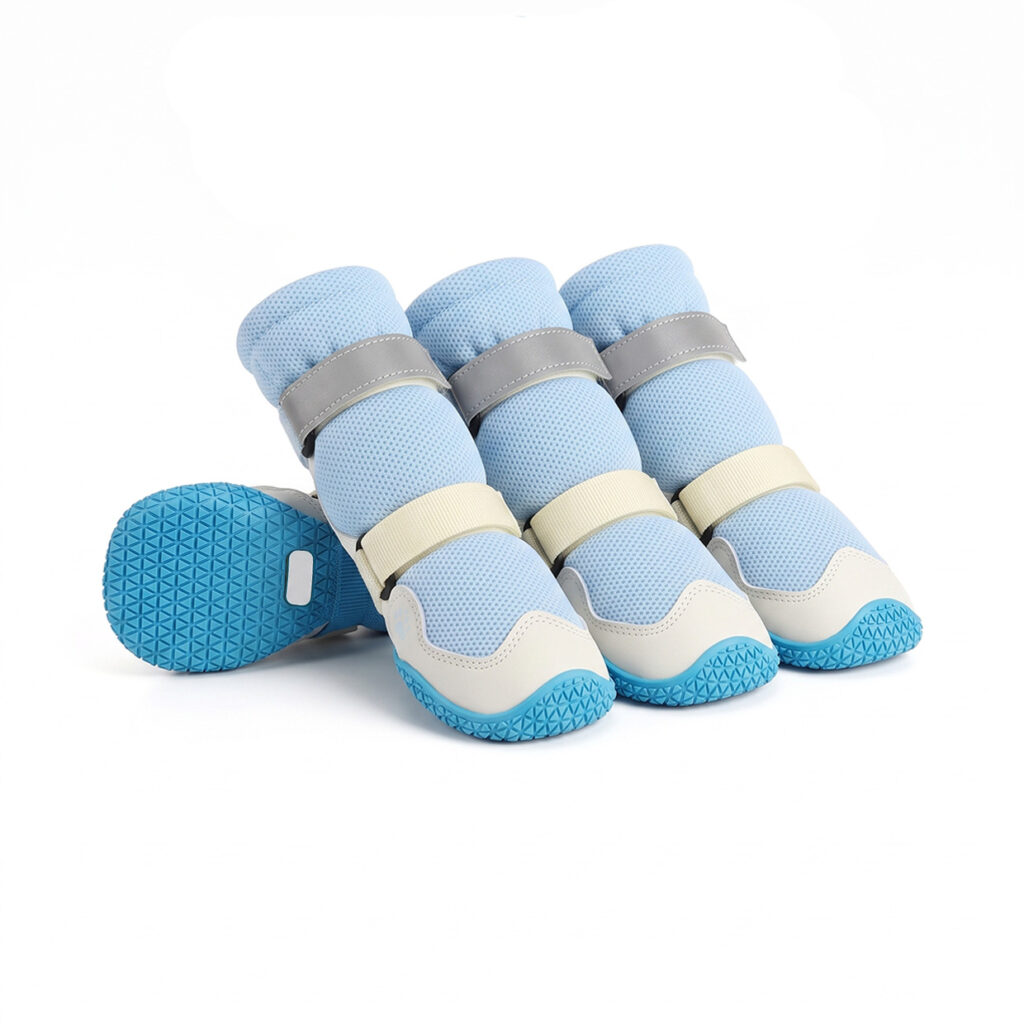
For Everyday Walks
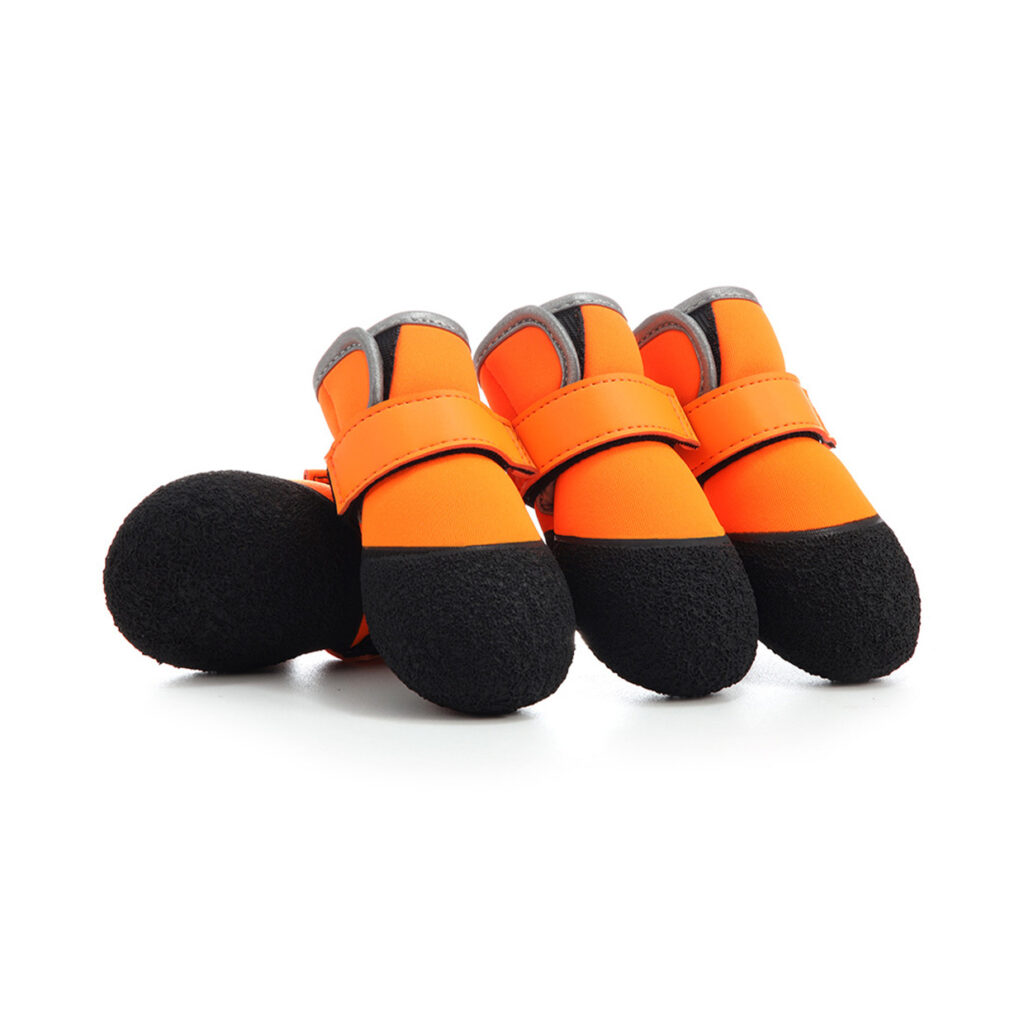
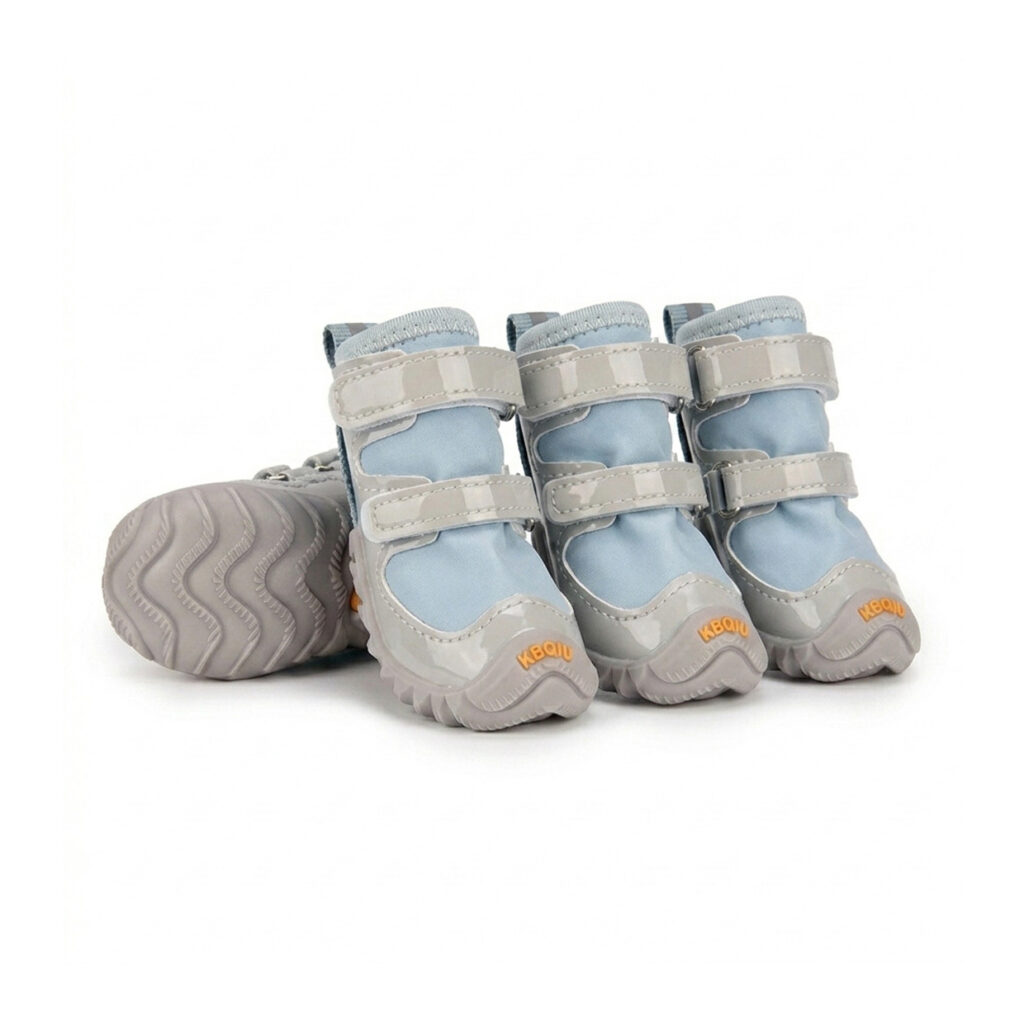
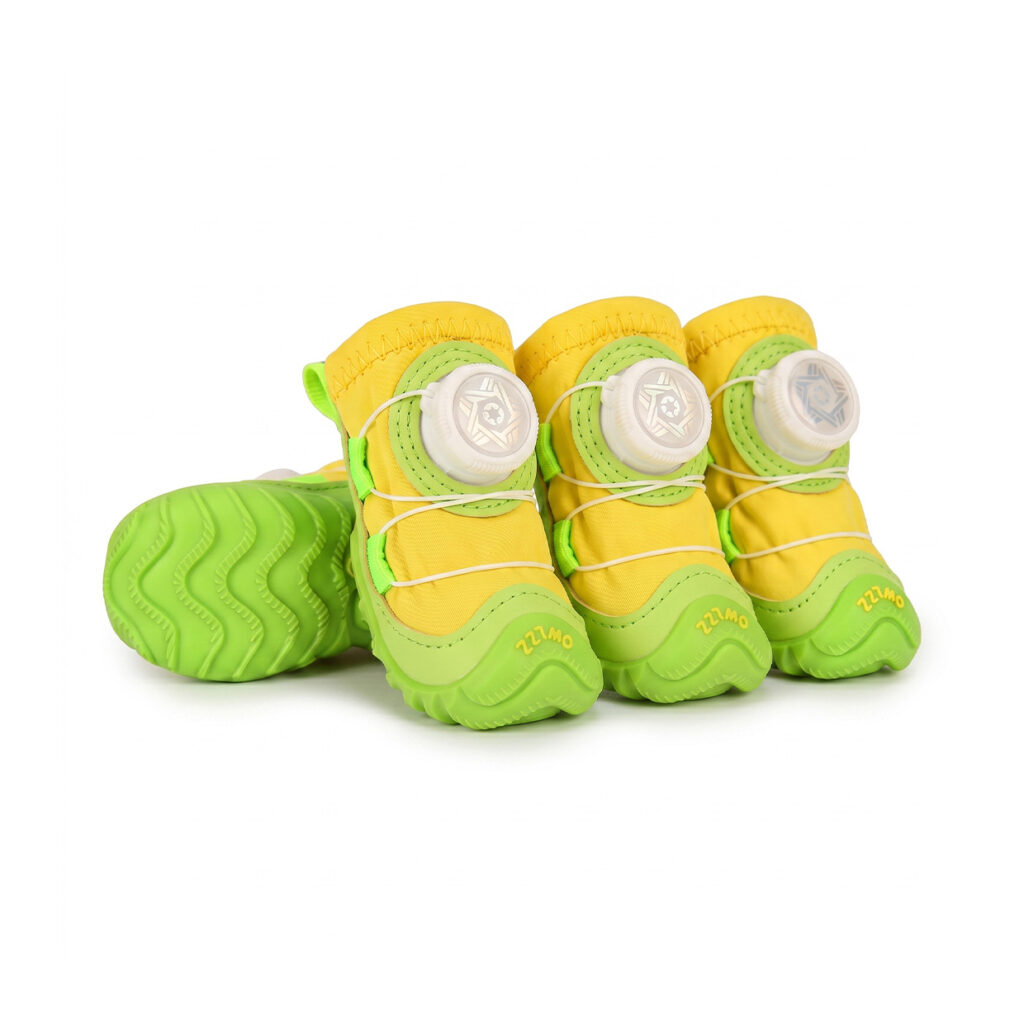
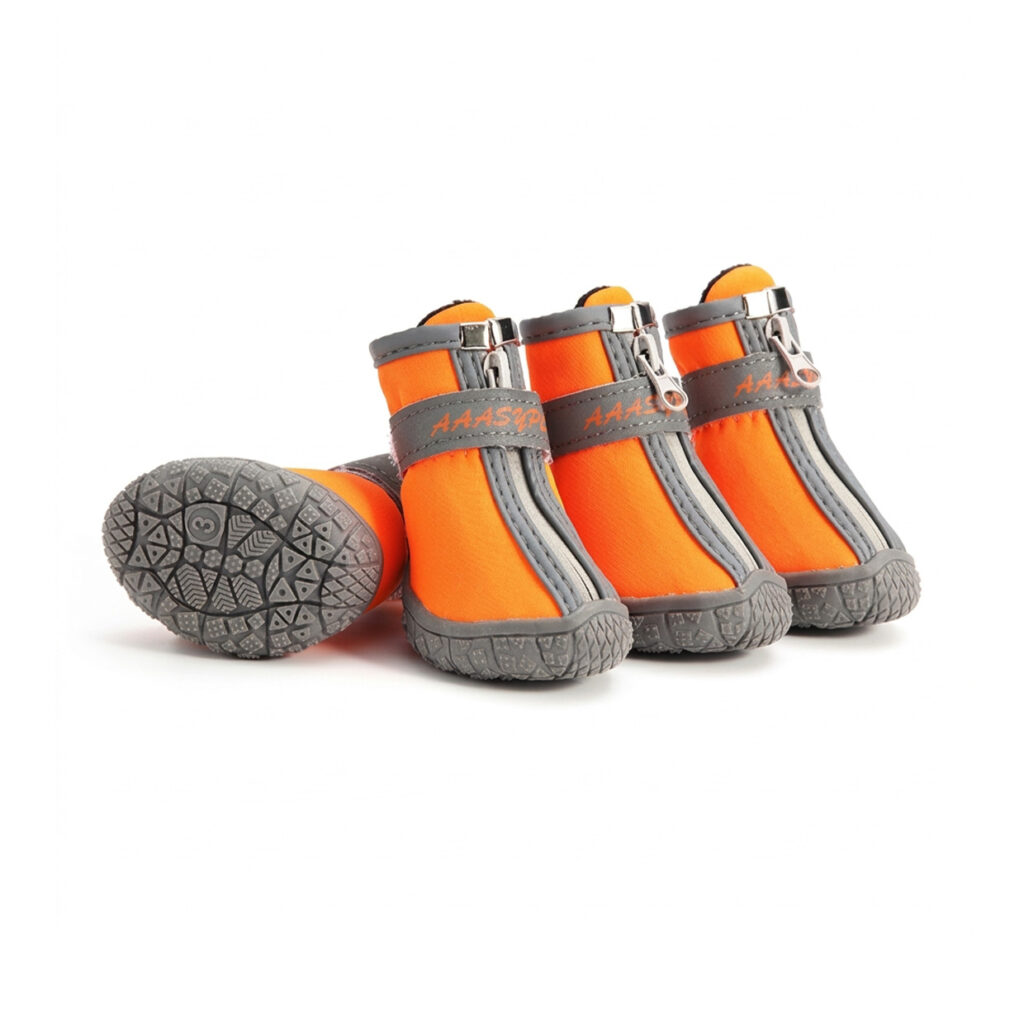
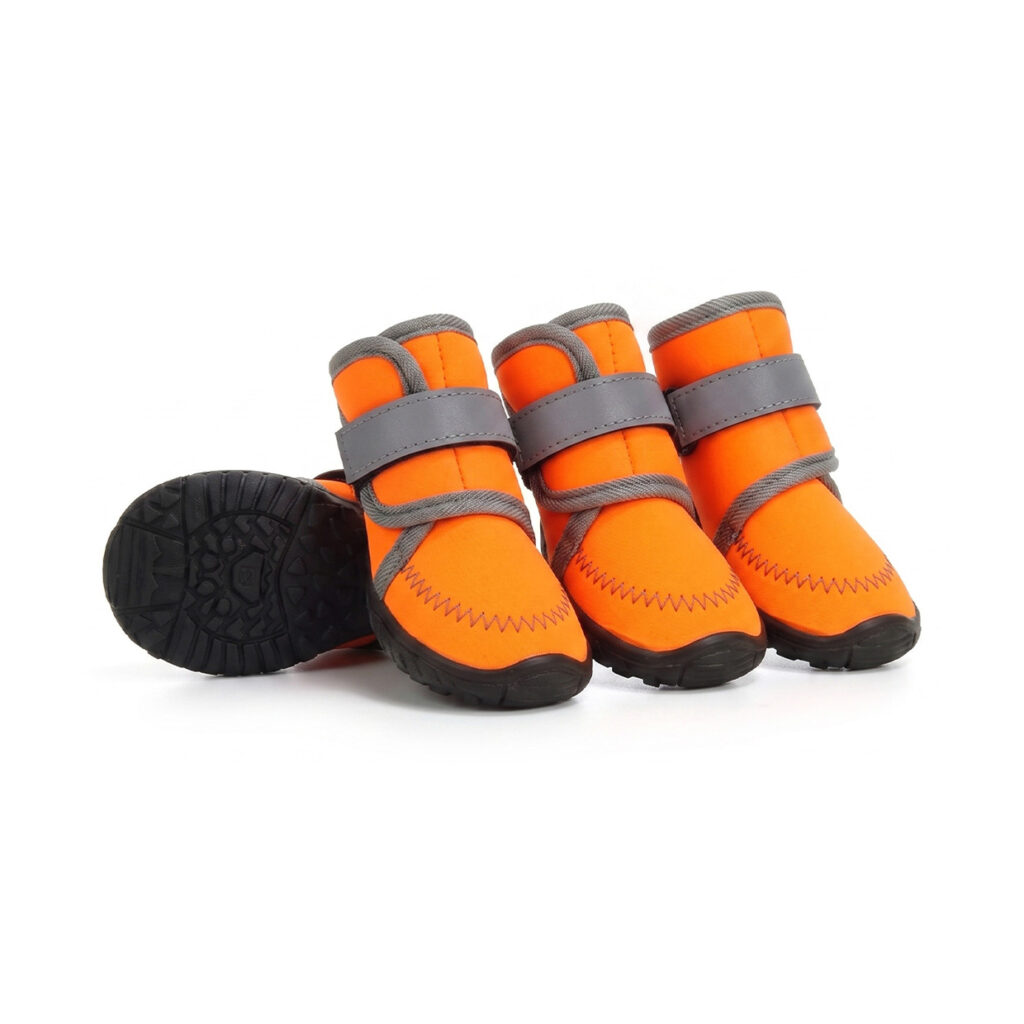
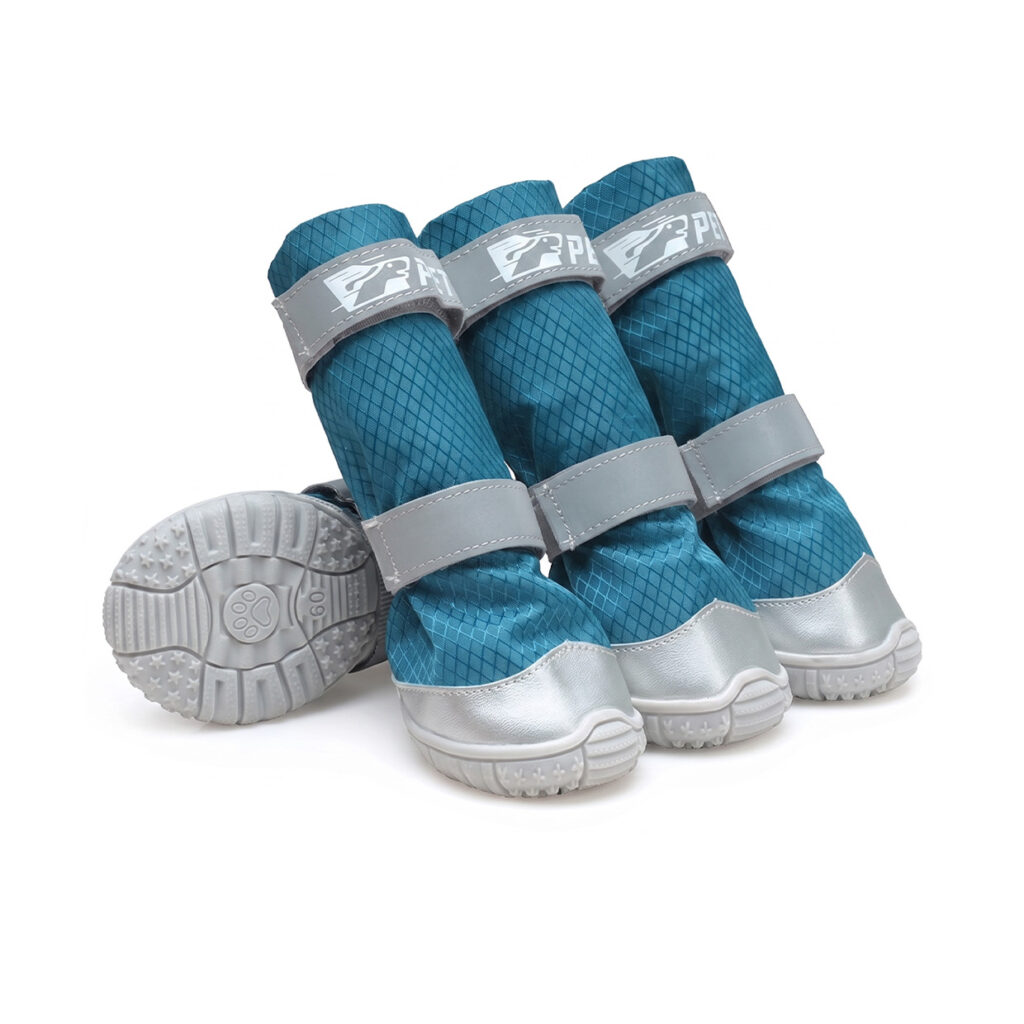
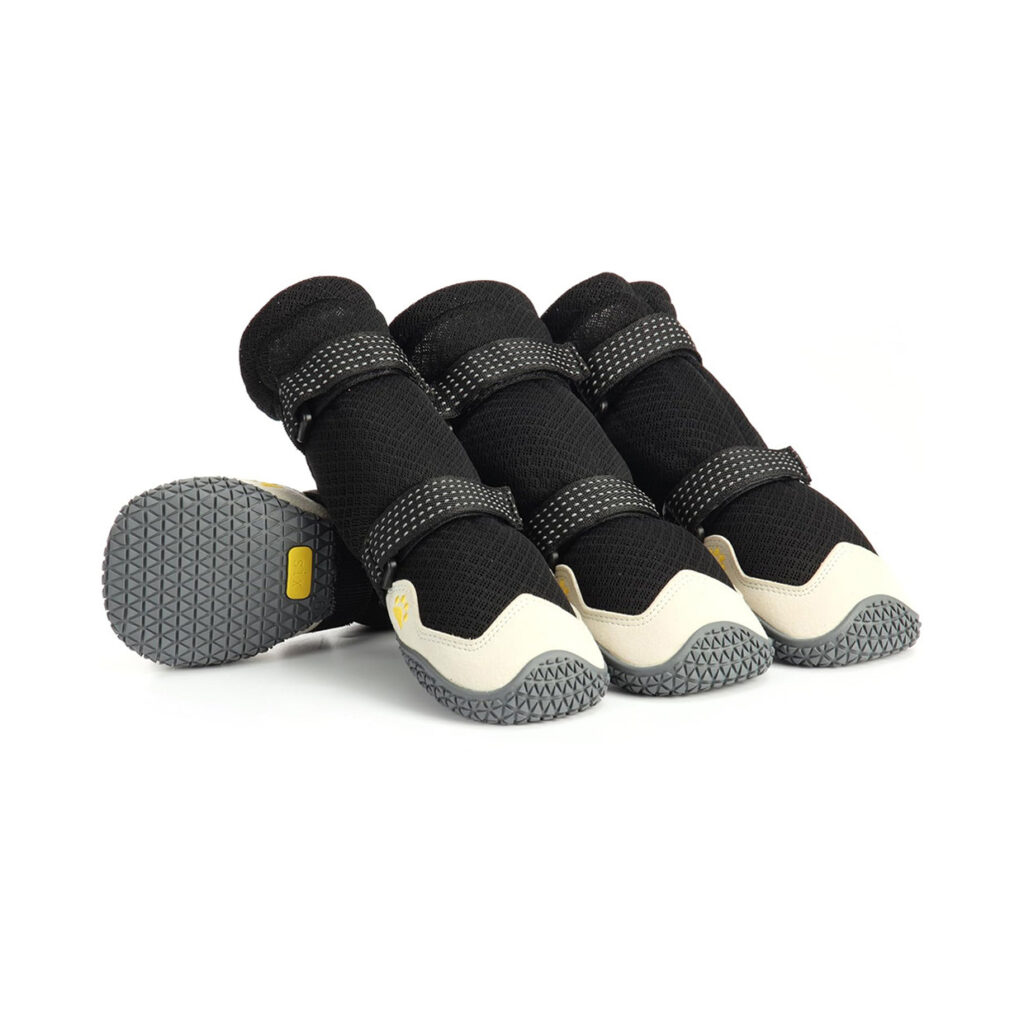
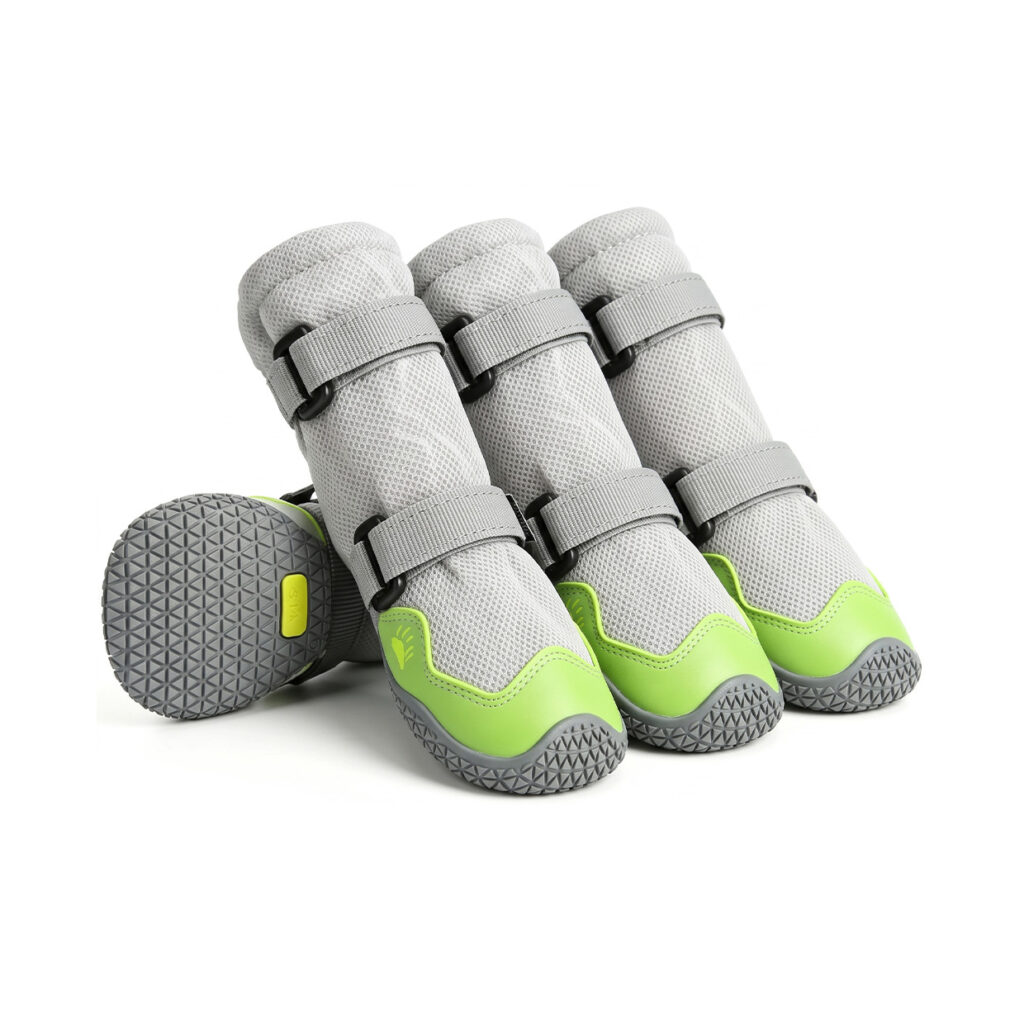
For Rougher Conditions
Frequently Asked Questions About Measuring Dog Paws
My dog won’t stand still — how do I measure their paws?
Try a paw stamp instead of the standard trace-and-measure method. Lightly wet the paw with water (or use pet-safe paint) and gently press it onto paper to capture the shape.
If that’s still too chaotic, measure a shoe you already know fits well, or grab a second person to keep your dog distracted with a lick mat while you do the actual measuring. And honestly — a few short paw-handling sessions beforehand tend to make everything easier, including future nail trims.
How tight should dog boots actually be?
Secure enough that they don’t shift or slide — tight enough to stay put, never tight enough to cut off circulation. As a rule of thumb, you want to comfortably slide one finger underneath the fastening strap. If you can’t, it’s too tight.
Watch for these warning signs of a bad fit: swelling above the strap line, limping, your dog constantly chewing or pawing at the boot, or red marks on the skin after you take it off. Any of those mean it’s time to loosen the strap or reconsider the size.
Should I measure front paws, back paws, or both?
Both, every time. Front paws are usually the bigger ones since dogs carry more of their body weight through the front legs — it’s just how they’re built. Measure at least one front and one back paw before ordering, and if there’s a real size gap between them, don’t hesitate to order two different sizes. Plenty of dogs need that.
Why does my dog freeze up or walk weird the first time they wear shoes?
Completely normal — you’ll probably see some version of the classic high-step “shaking off invisible water” walk, and some dogs just freeze in place the first few times. It’s not a sign they hate the shoes forever; it’s just an unfamiliar feeling on paws that are used to feeling the ground directly.
Stick with short sessions, keep the treats flowing, and stay upbeat about it. Most dogs settle into it within a few days once the novelty wears off.
Can I put socks under shoes to fix a slightly-off fit?
Yes, and it works well for small fit issues. A breathable liner sock cuts down on friction, helps prevent chafing, adds a bit of warmth, and fills in minor gaps if the shoe runs just a touch big.
One caveat, though — socks are a fine-tuning tool, not a fix for bad sizing. If the shoe itself is genuinely too big or too small, a sock underneath won’t solve that. Get the base size right first.
Final Thoughts: The Perfect Fit Starts With Accurate Measurement
Everything else — the training, the comfort, the confidence your dog walks with in their new gear — traces back to getting that initial measurement right. It really is the foundation the rest of this builds on.
A properly fitted shoe stands between your dog’s paws and hot pavement, sharp gravel, ice, and all the other everyday hazards out there — without getting in the way of how they naturally move.
Measure carefully, pick the footwear style that actually matches your dog’s life, and introduce it slowly with plenty of positive reinforcement. Take that approach, and most dogs come around to protective footwear a lot faster — and more happily — than owners expect.
Ready to Find the Perfect Fit for Your Dog?
Don’t let sizing guesswork hold your adventurous pup back. Now that you’ve got the measuring process down, take a look at our full lineup built for every paw shape and every kind of weather.
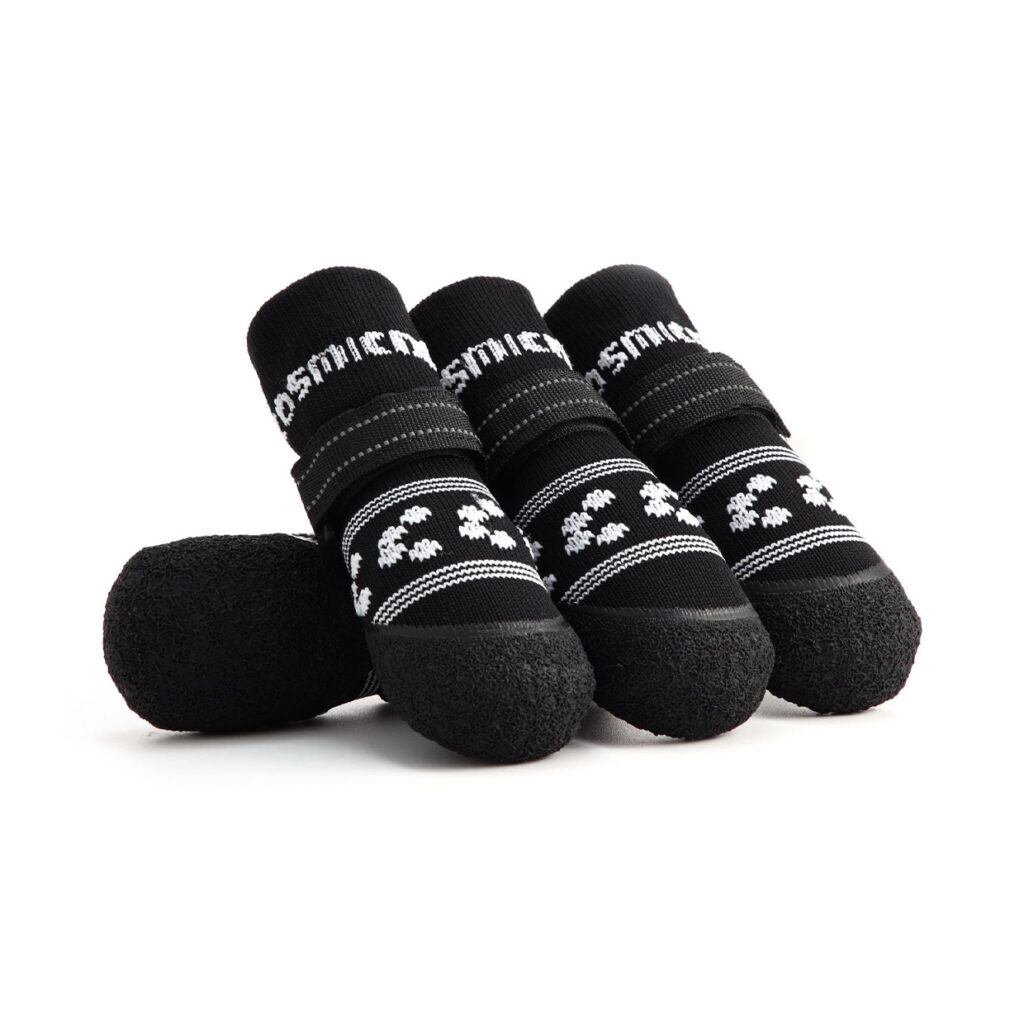
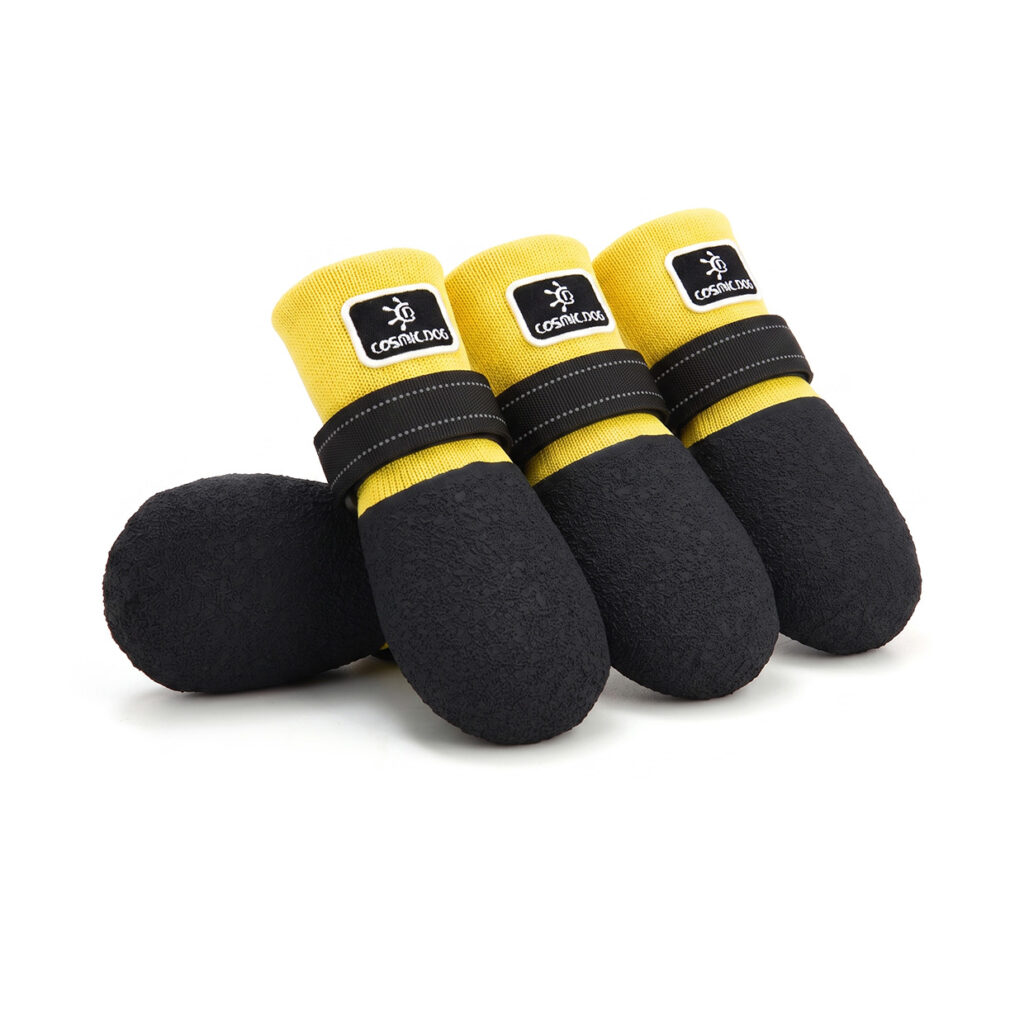
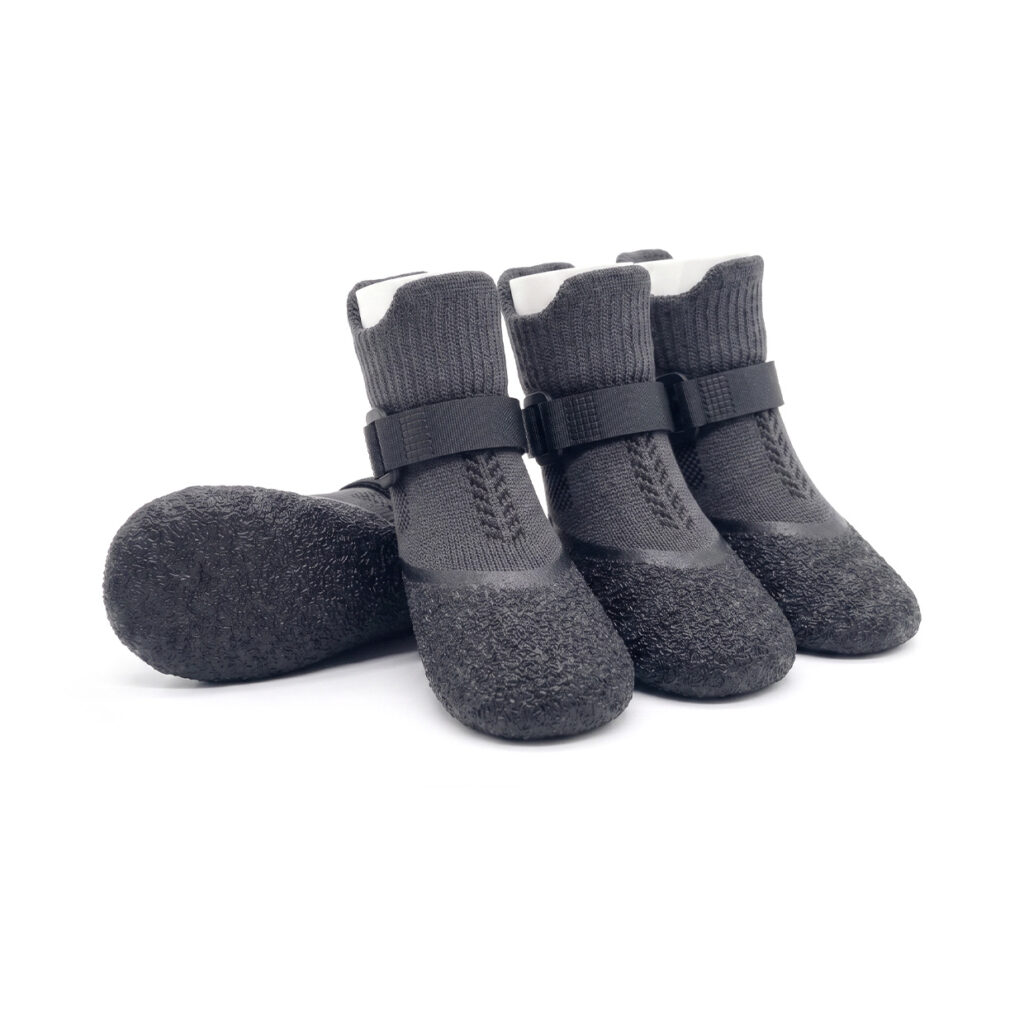
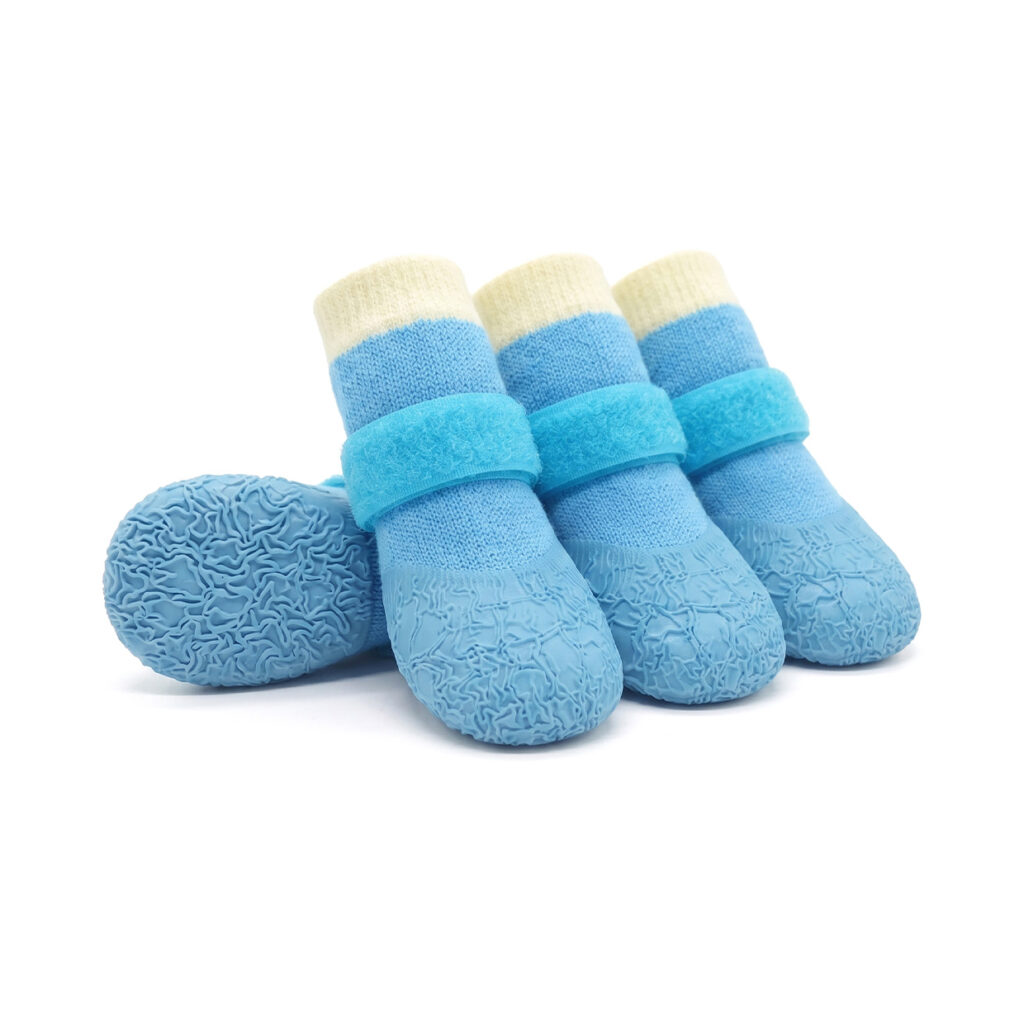
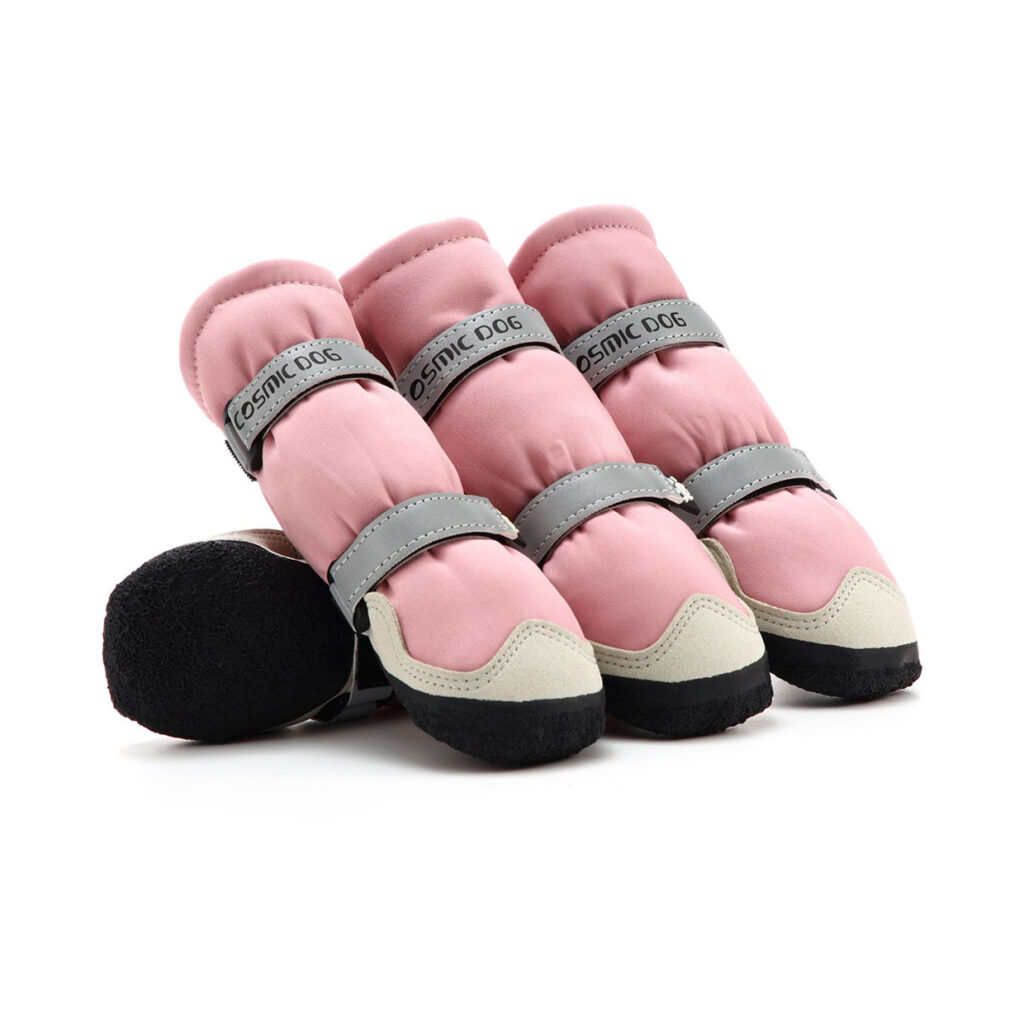
Explore our durable Dog Shoes, weather-resistant Boots, and comfortable Liner Socks — all backed by precise size charts made for real dogs, not just breed averages.
Shop the Paw Protection Collection & View Size Guide