Free Shipping on All Orders | 30-Day Easy Returns
Dog Hiking Boots: Protect Paws on Rocky Trails
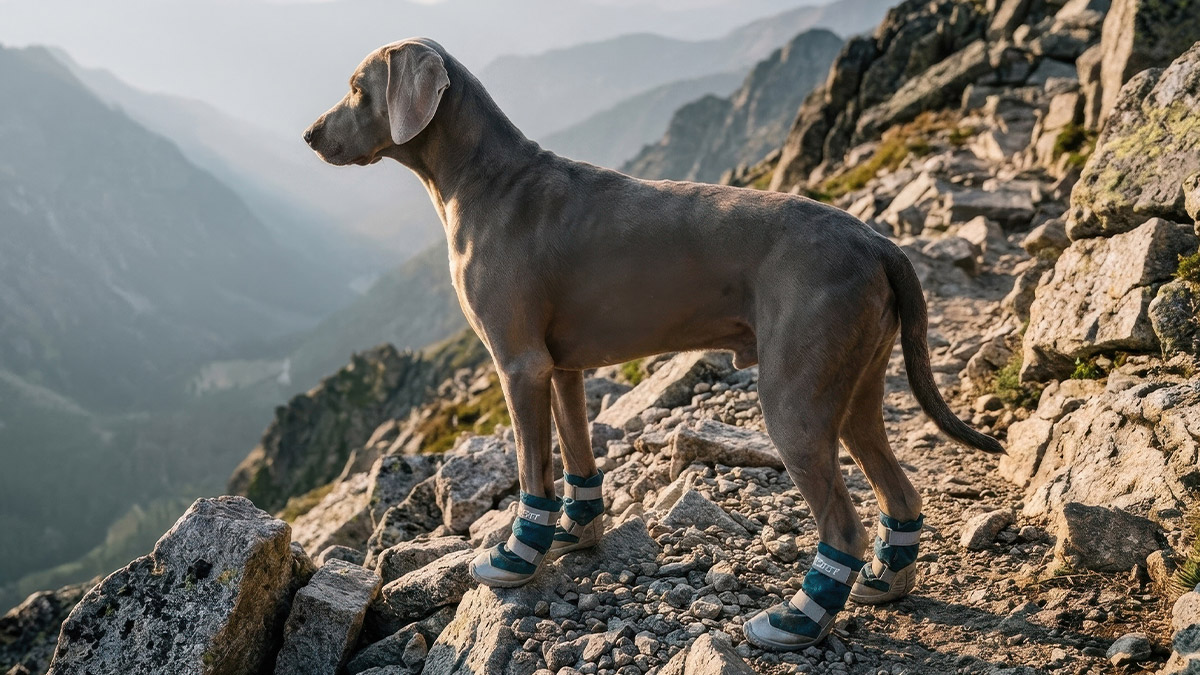
Table of Contents
If you’ve ever watched your dog wince mid-stride on a gravel path, you already know the answer to the big question: yes, dog hiking boots matter — a lot more than most first-time trail owners expect. For pups who regularly tackle rocky trails, steep scrambles, thorny brush, or brutal weather swings, good footwear isn’t a fashion statement. It’s a physical buffer between soft, sensitive paw pads and everything on the ground that wants to hurt them.
Paw pads are tougher than human skin, but they’re not armor plating. Ask any hiker who’s pulled a cactus spine out of their dog’s toe at 2 p.m. on a trail with zero shade — even healthy pads can end up cut, punctured, scraped raw, or burned after enough exposure to the wrong surface. Sharp granite, broken glass hidden in leaf litter, cactus needles, sun-baked rock, and coarse gravel can turn a good hike into a limping walk back to the car in about ten minutes flat.
The right dog outdoor boots won’t make your dog invincible, but they will meaningfully cut down on injury risk while giving your dog better grip and confidence over technical ground. The formula that actually works comes down to four things: a durable outsole, a secure fastening system, the right coverage for the terrain, and — this one trips people up constantly — an honest-to-goodness comfortable fit.
This guide walks through why hiking with dogs paw protection deserves real thought (not an afterthought), what separates a genuinely good boot from a flimsy one, how to nail the fit for longer distances, and what your post-hike paw care routine should look like once you’re both back at the trailhead.
The Hidden Dangers: Why Your Dog Needs Paw Protection on the Trail
Paw pads are built for everyday wear and tear — sidewalks, backyard grass, the occasional gravel driveway. What they’re not built for is hours of sustained abuse on terrain that would make a hiking boot’s rubber sole flinch. Extended exposure gradually wears down the tough outer layer of the pad, and once that layer thins out, cuts and abrasions become a lot easier to pick up.
Rocky trails are their own special problem. Loose gravel and sharp-edged stones create these tiny, concentrated pressure points right under the pad — think of it like walking barefoot on gravel, except your dog can’t tell you it hurts until it really hurts. Granite scree and shale in particular tend to produce small, easy-to-miss cuts. You often won’t notice anything’s wrong until your dog starts favoring a paw halfway through the hike.
Vegetation adds a second layer of trouble. Pine needles, thorns, cactus spines, burrs, and snapped branches love to wedge themselves between toes or drive straight into the pad — and dogs, being dogs, will often keep charging ahead like nothing happened until you catch them limping later.
Then there’s water. Mud is sneaky — it hides sharp debris under an innocent-looking layer of goo, and it keeps paws damp for hours. That prolonged moisture softens the outer pad layer, which sounds harmless but actually makes the skin underneath more vulnerable to tears and abrasions.
For veterinary-backed guidance on paw injuries and foreign objects lodged in the pad, it’s worth reading through the American Kennel Club’s paw care guidance or VCA Animal Hospitals’ veterinary resources — both are solid, science-backed references for anything beyond a minor scrape.
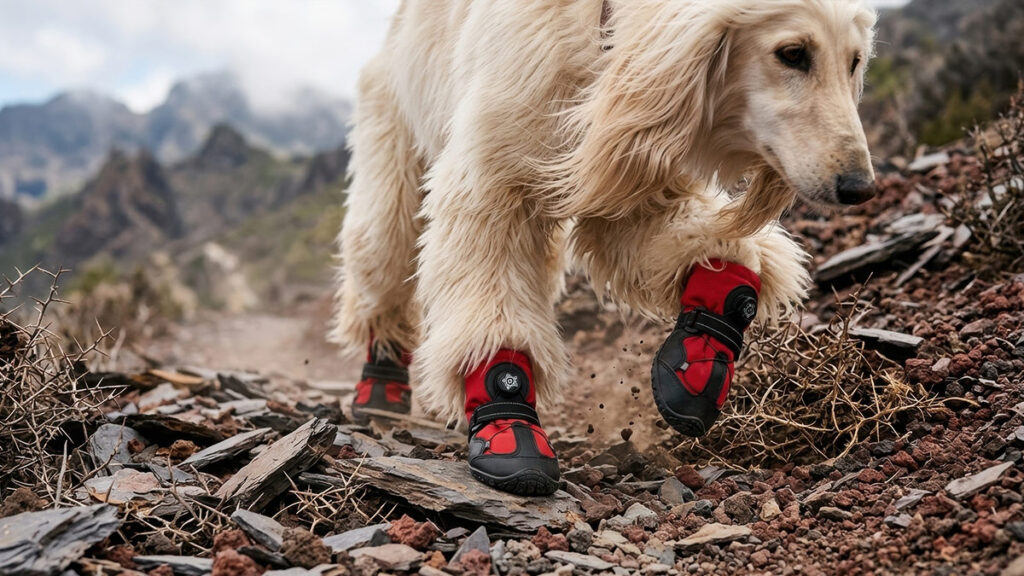
To be clear, the goal of hiking with dogs paw protection isn’t to eliminate every bit of contact between paw and ground — that’s not realistic or even necessary. Good footwear simply creates a protective layer that keeps the worst of the trail (sharp, scorching, or contaminated surfaces) from reaching skin that wasn’t designed to handle it.
Features of the Best Dog Boots for Hiking
Not every dog shoe on the market is cut out for real trail work. Those lightweight little booties that look adorable on a sidewalk stroll? Fine for that. Completely out of their depth on a rocky switchback three miles from the trailhead.
When you’re comparing boots for dogs hiking, there are really three things worth your attention: the outsole, the upper, and the fastening system.
1. Rugged Outsoles for Sharp Rocks
If there’s one component that decides whether a boot earns its keep, it’s the outsole. A thin, floppy sole might handle a casual park walk just fine, but technical terrain demands real resistance to punctures and abrasion.
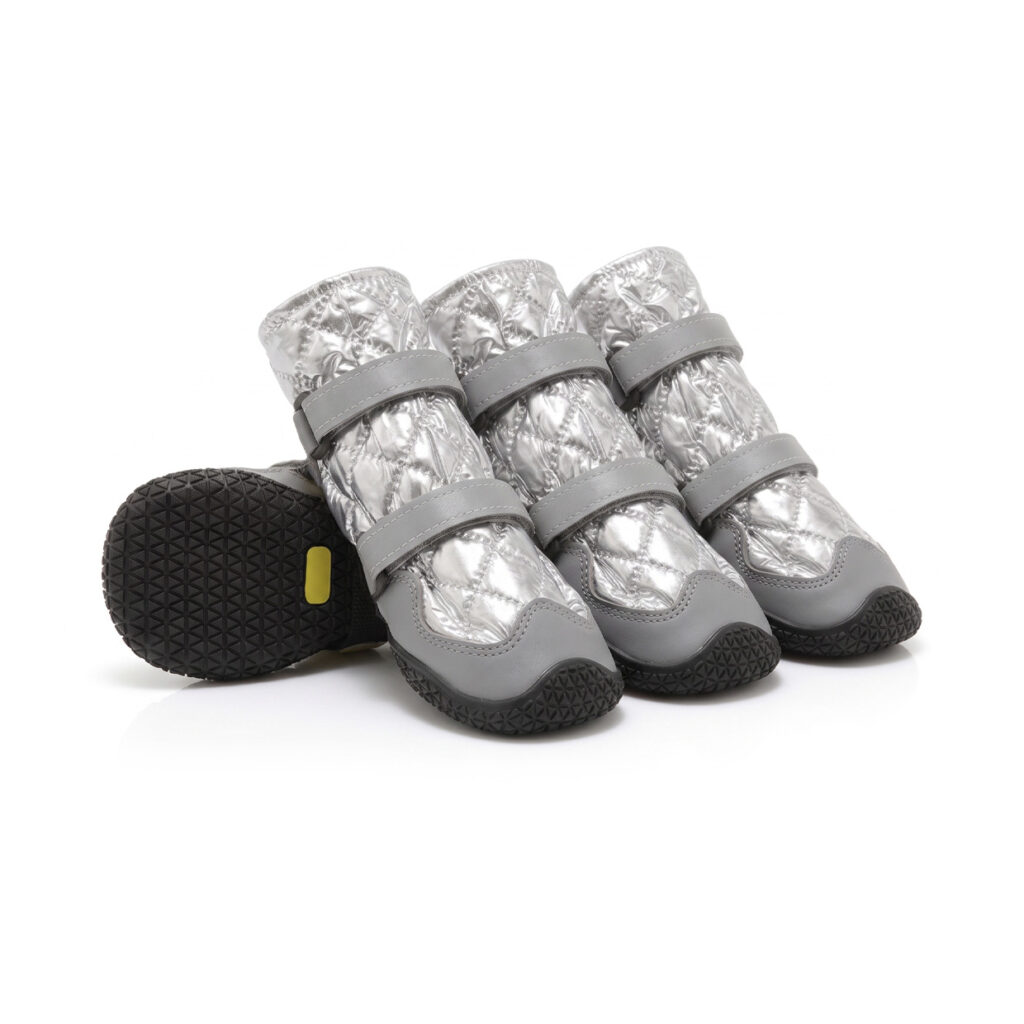
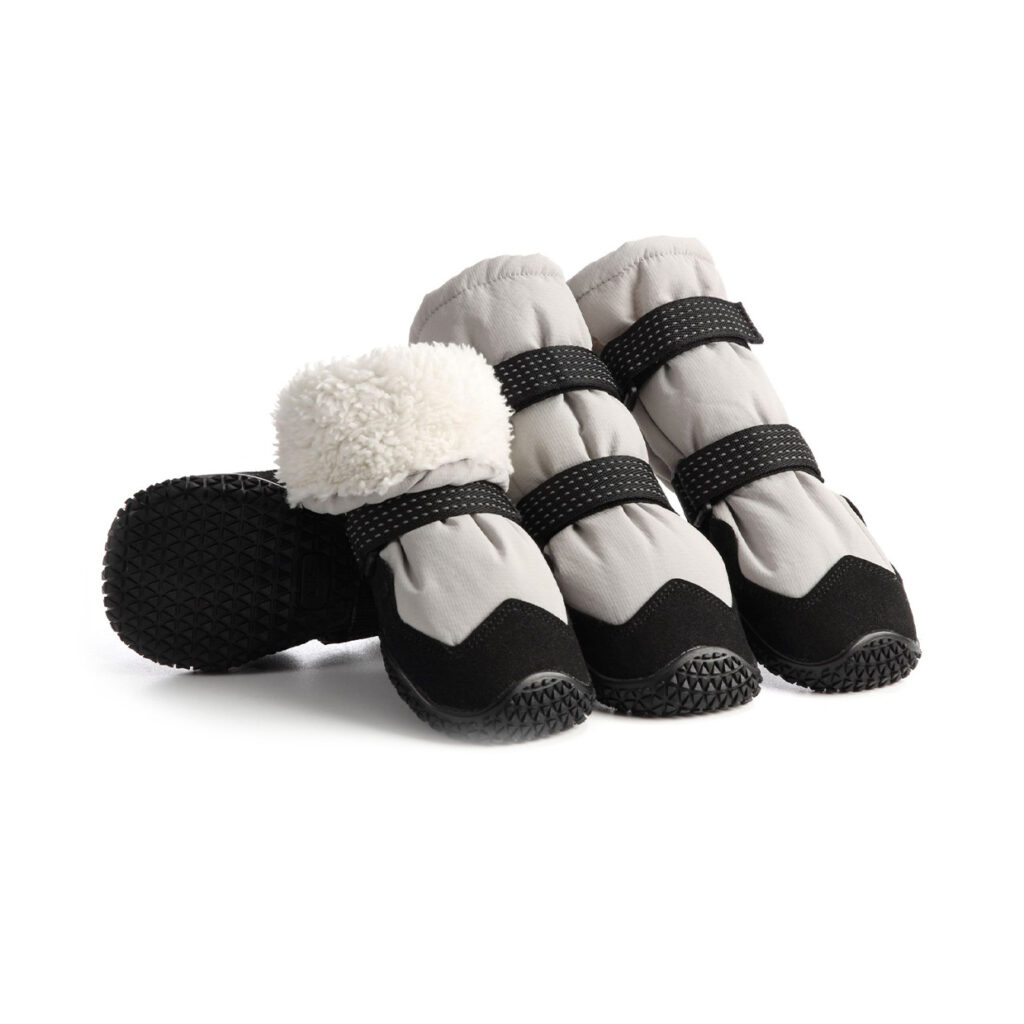
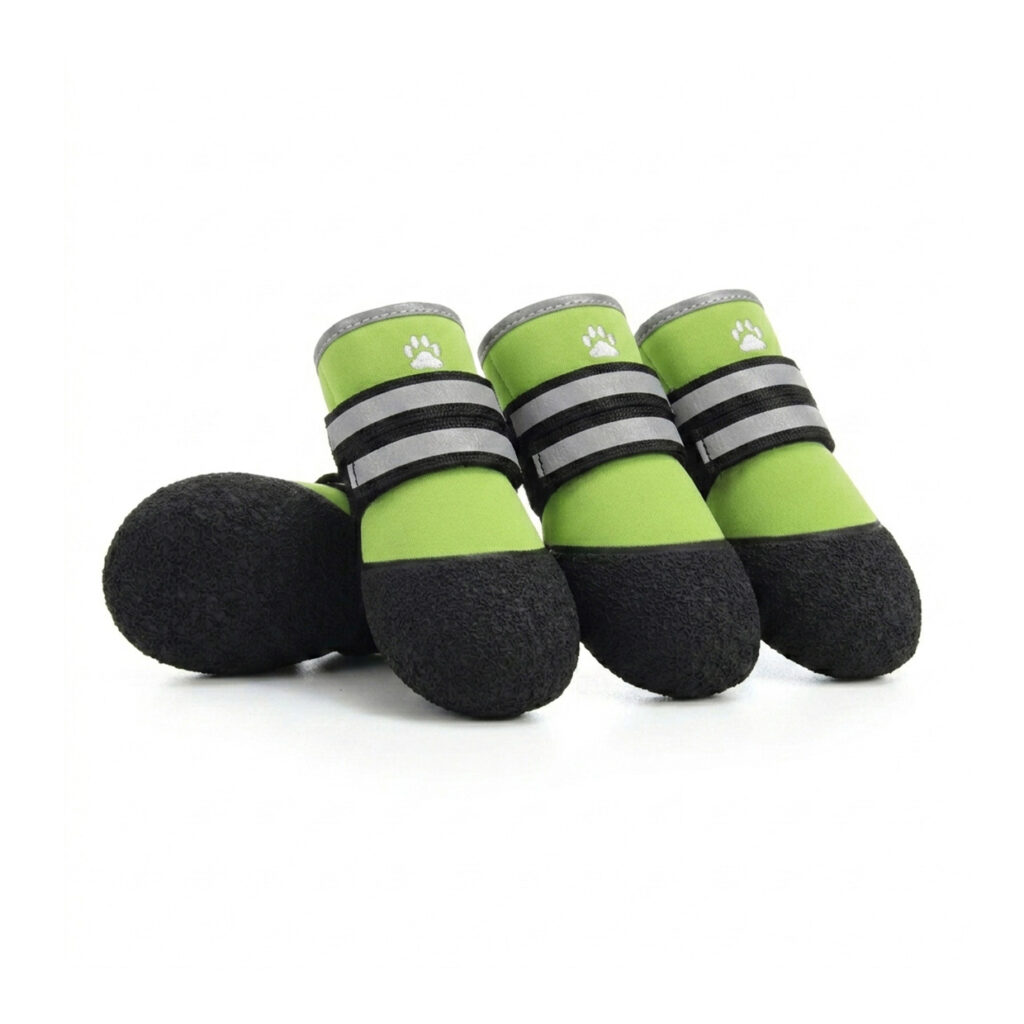
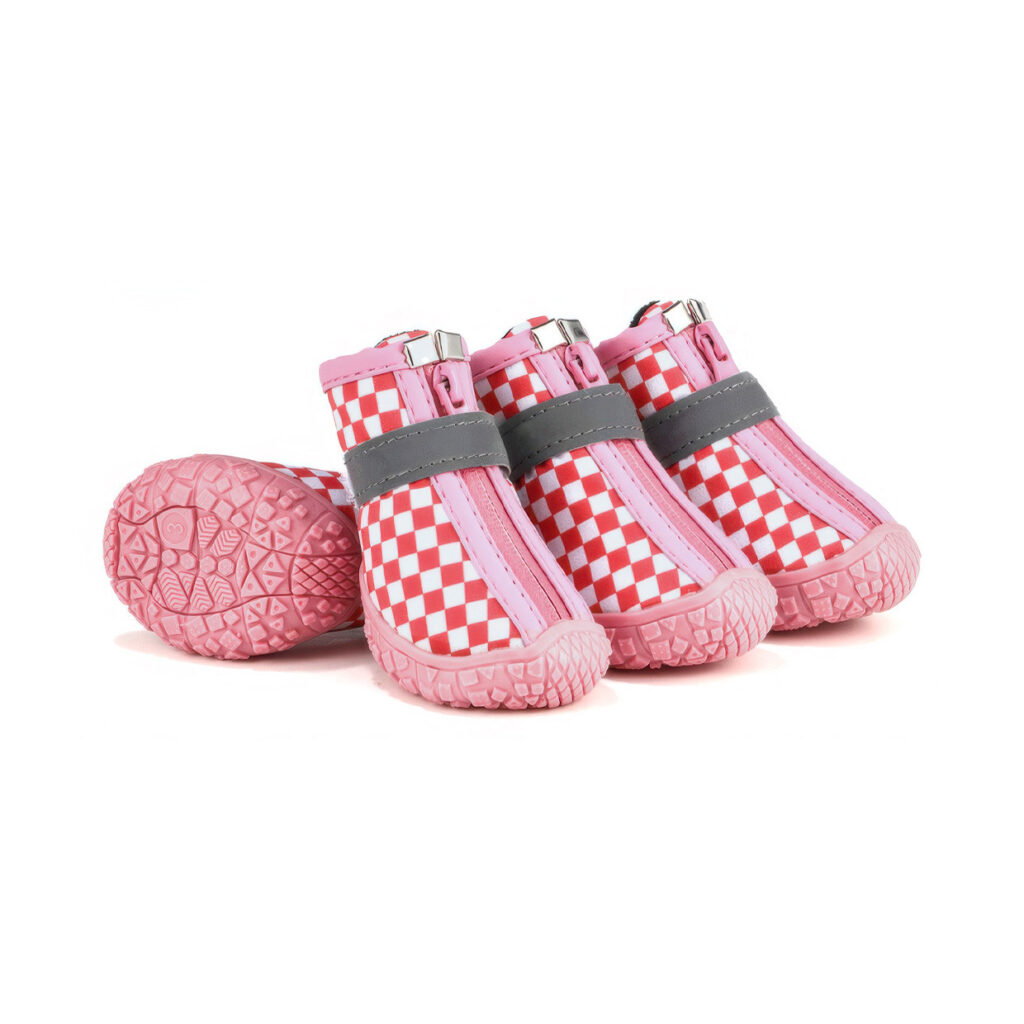
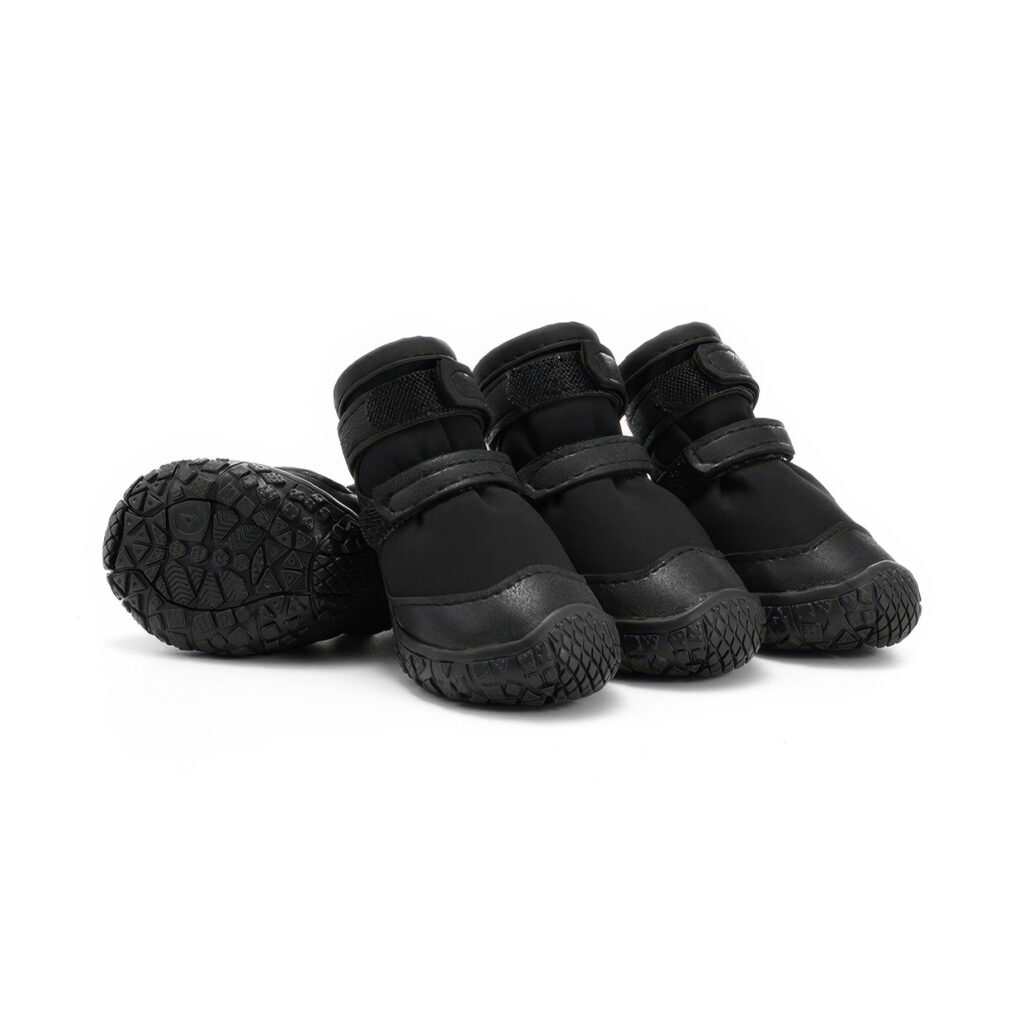
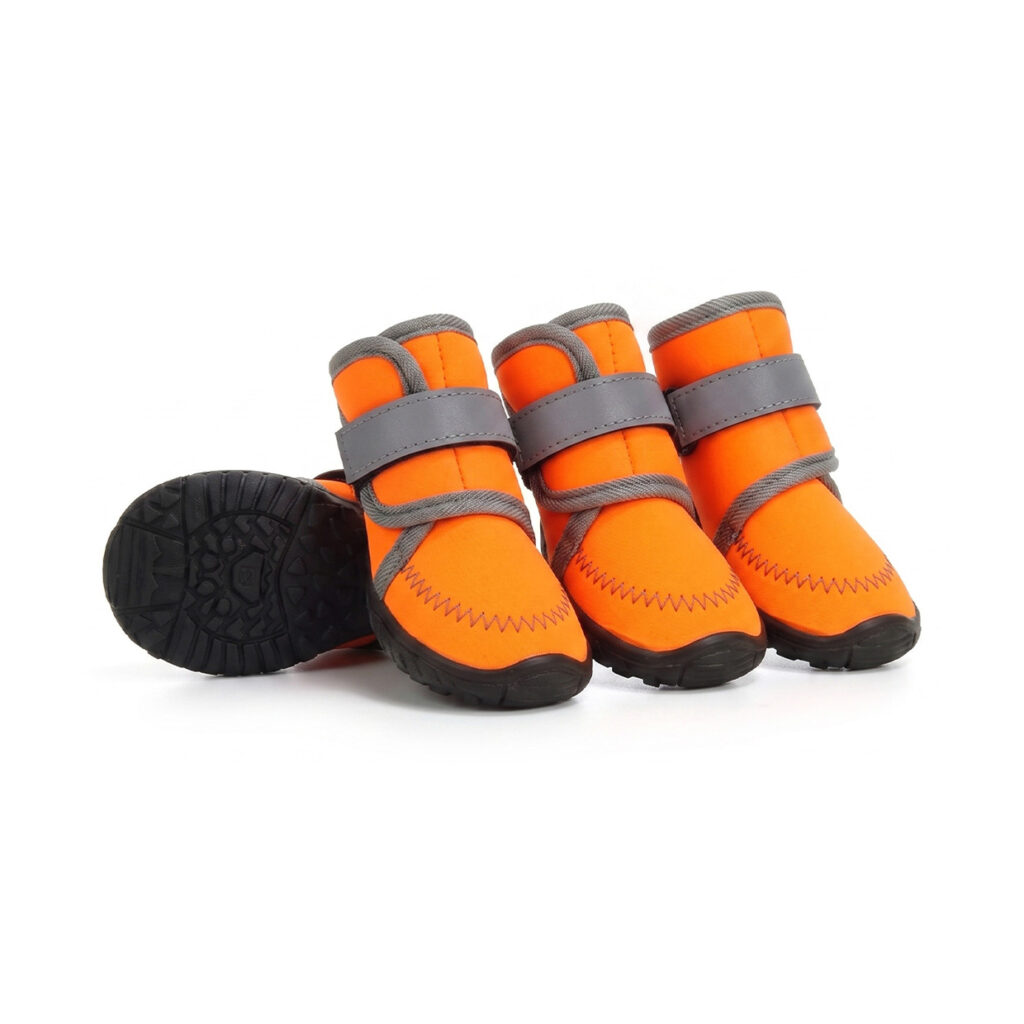
Look for thick rubber or thermoplastic rubber soles with a multidirectional tread pattern — the kind with deep lugs that bite into loose gravel, wet rock, mud, and uneven slopes. That thickness also does double duty as extra material standing between your dog’s paw and whatever sharp object is lurking underneath.
But thicker isn’t automatically better. A quality outsole has to strike a balance between protection and flexibility, bending naturally with each stride instead of forcing your dog into that stiff-legged, robot-walk gait dogs get when a boot is too rigid.
For a deeper dive into tread geometry, material choices, and how grip actually performs across different surfaces, check out our specialized dog boot soles and traction patterns guide.
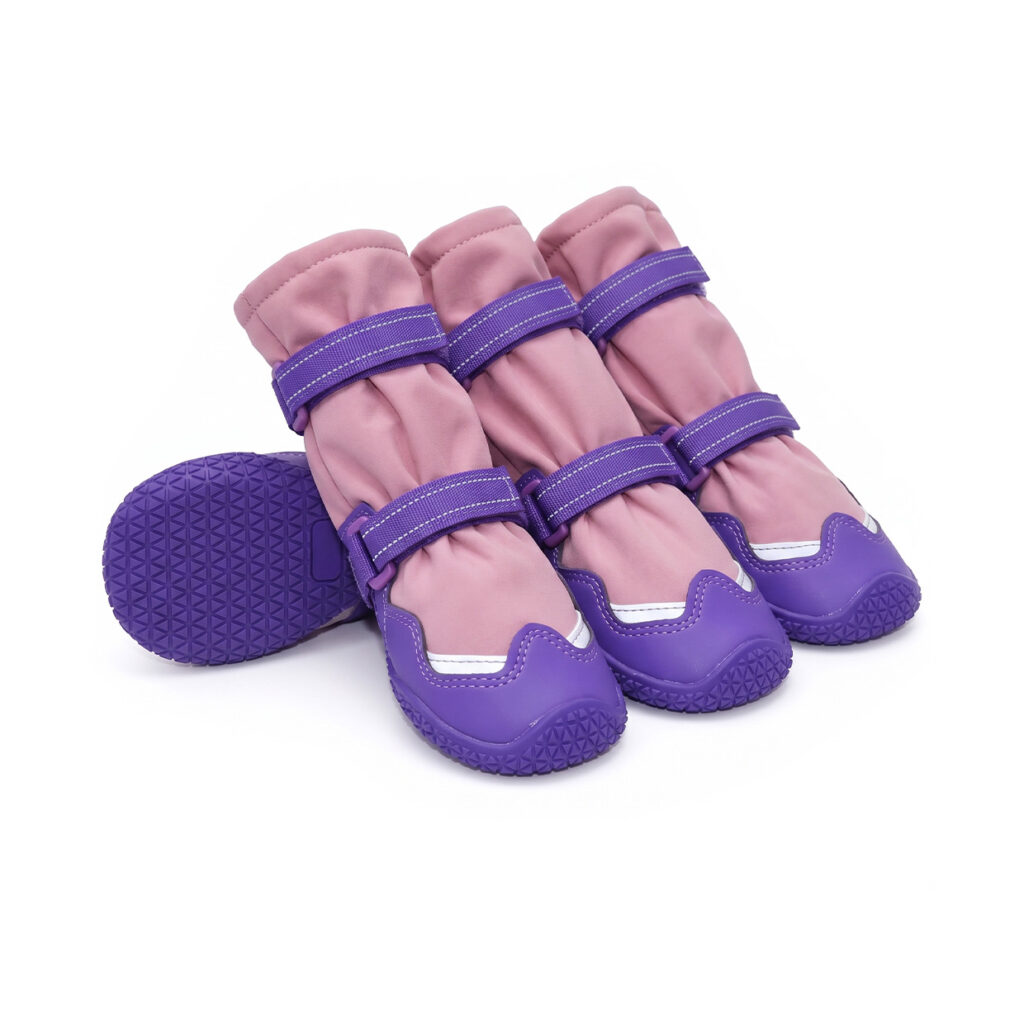
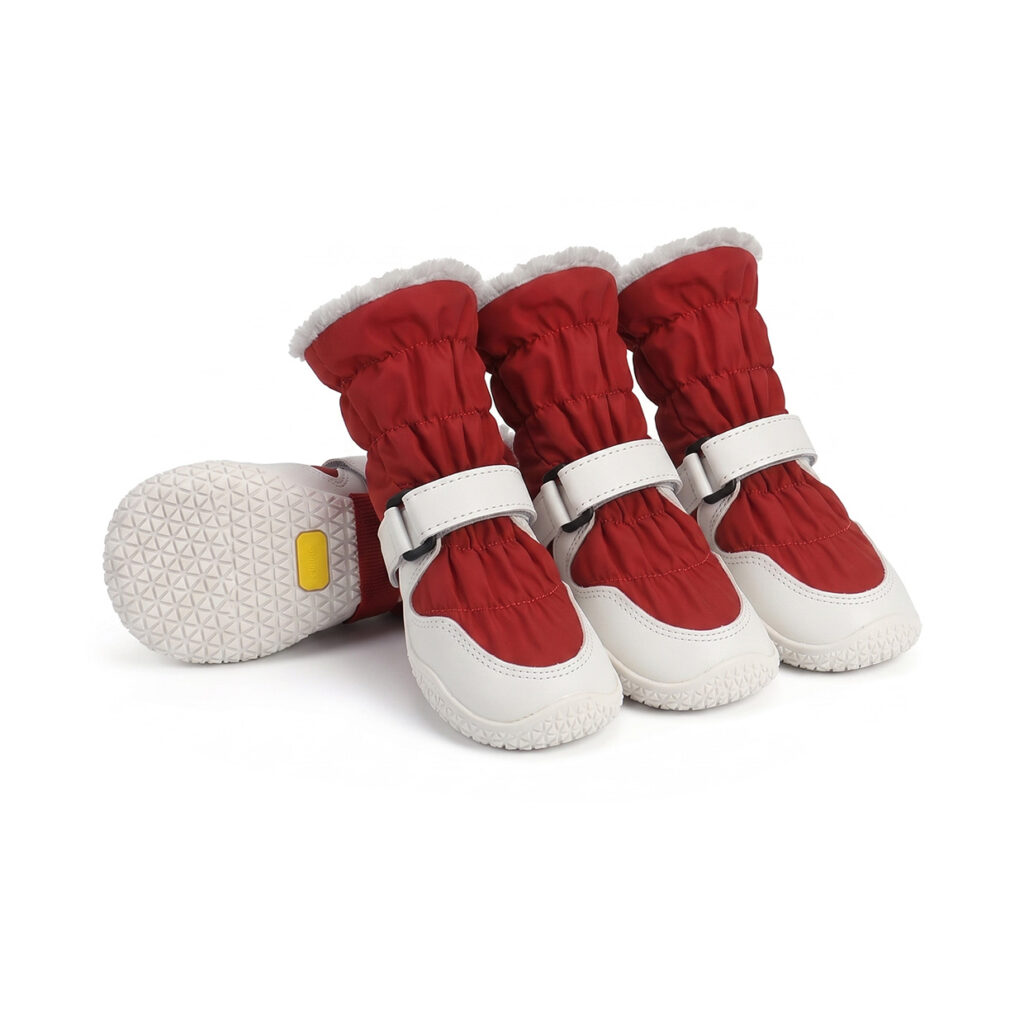
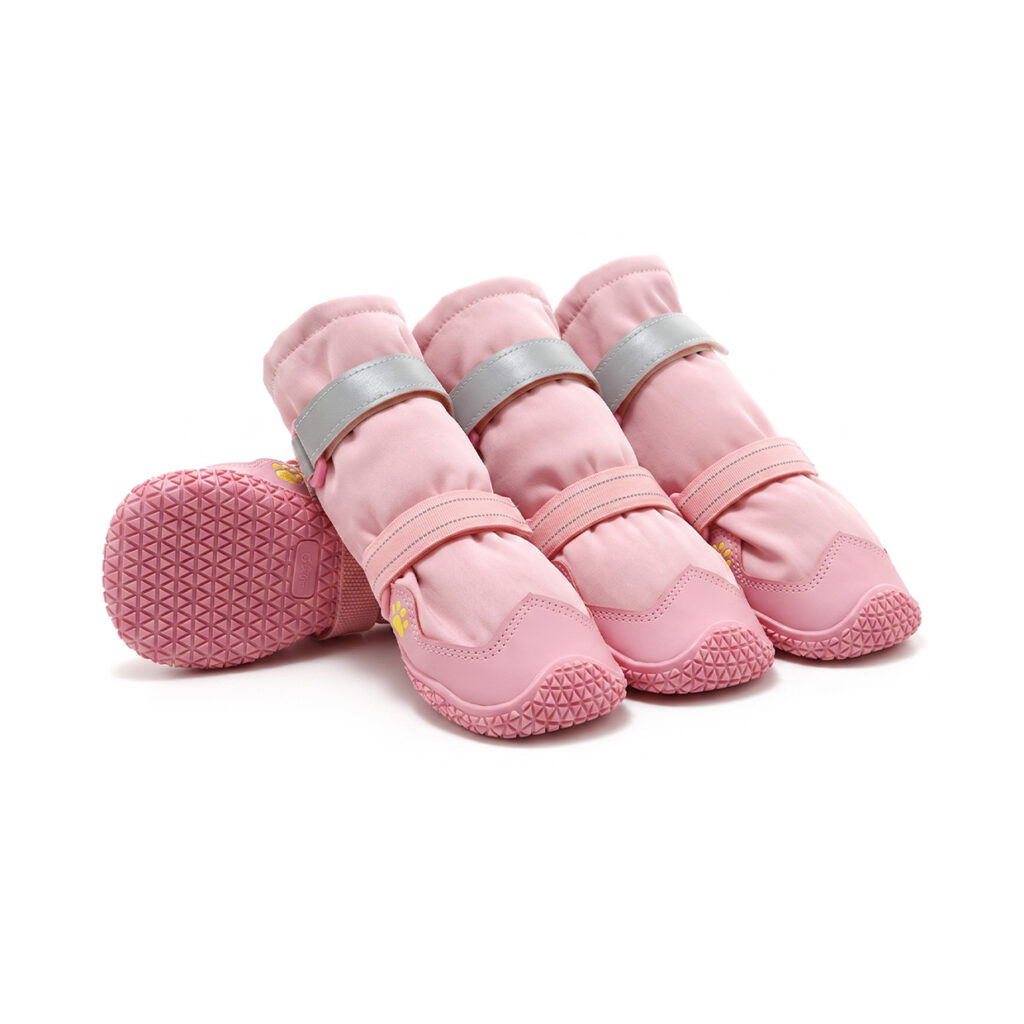
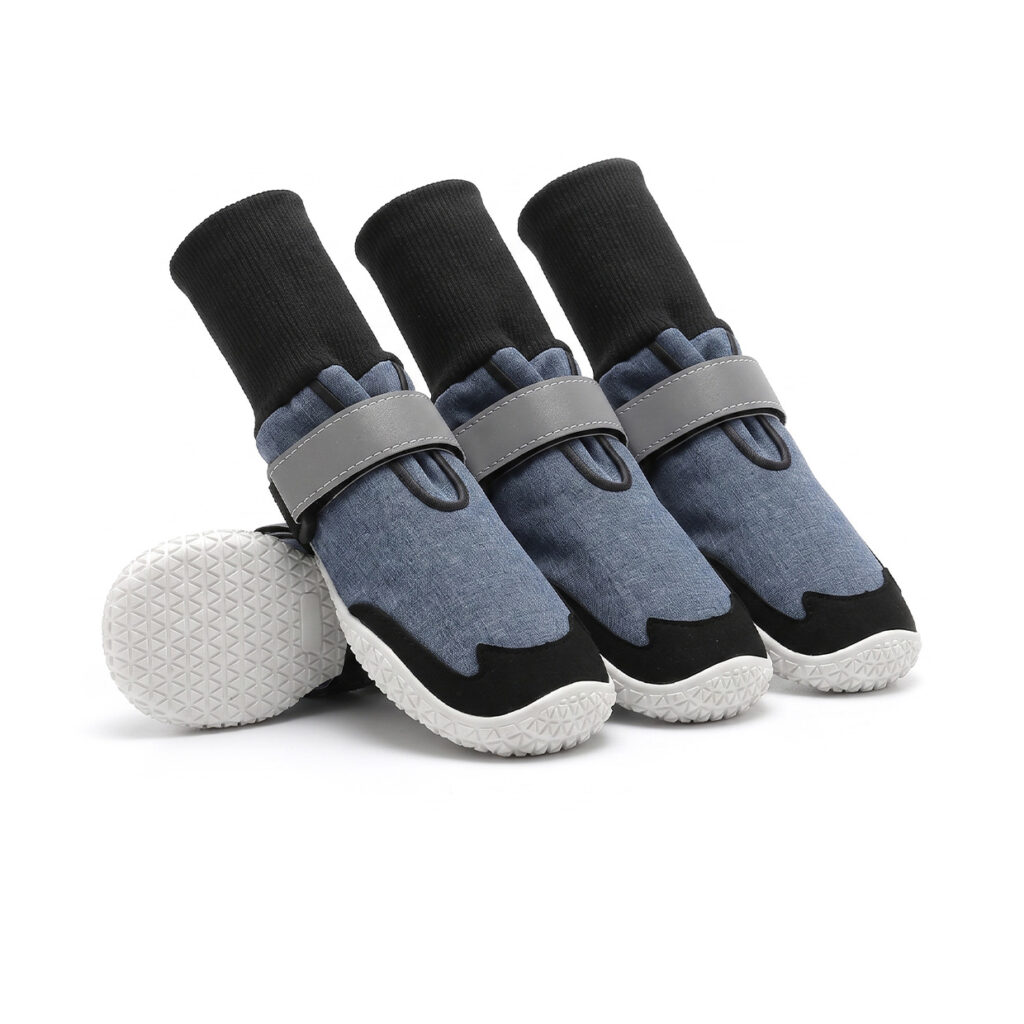
If you’re regularly hitting technical terrain, it’s worth going straight to our best dog boots for rocky trails collection, built around rugged, multidirectional outsoles designed for exactly this kind of ground.
Best Dog Boots for Rocky Trails
2. Water and Debris Resistance
Trail conditions have a way of flipping on you fast. That dry, dusty path at the trailhead can turn into a mud pit an hour in, and one unplanned stream crossing can leave your dog squishing along in wet boots for the rest of the day.
Good dog boots for mud need an upper that resists water without letting dirt, gravel, and stray vegetation sneak in around the edges. A gusseted opening or a well-designed ankle closure makes a real difference here — it’s the difference between shaking out a pebble at the next rest stop versus digging debris out of a boot that’s rubbed a hot spot raw.
That said, fully waterproof construction isn’t a must-have for every hike. In warm weather, heavy insulation traps heat and moisture inside the boot, which can actually make things worse. Breathable materials tend to be the smarter pick for dry summer trails.
3. Secure Fastening Systems
Even the best-built boot is useless the moment it slides off halfway up a scramble — and trust me, chasing a loose boot down a rocky slope while your dog looks at you like you’ve lost your mind is not how anyone wants to spend their hike. Uneven terrain means constant flexing, twisting, and impact, and a poorly secured boot works itself loose fast.
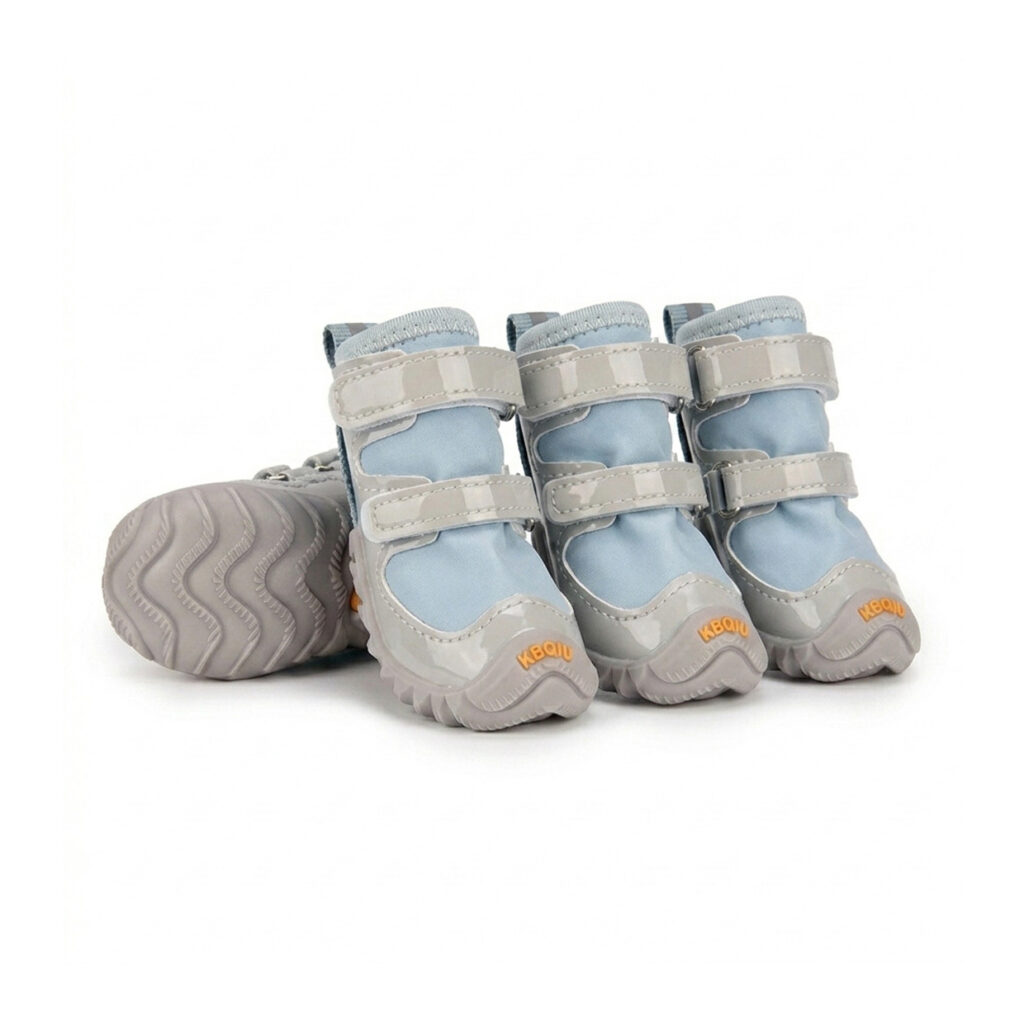
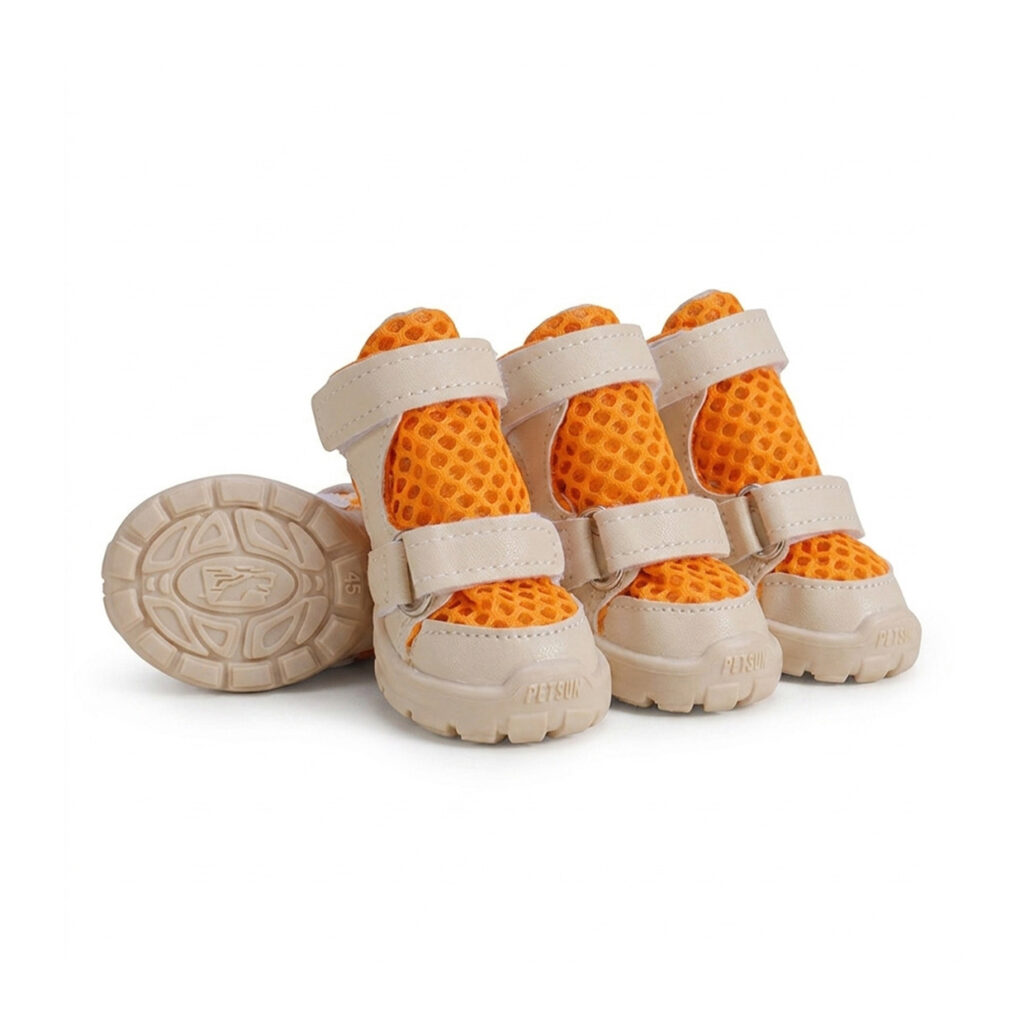
Dual Velcro straps earn their reputation because they spread the fastening pressure across a wider area instead of relying on one thin strap to do all the work. The upper strap should sit snugly around the lower leg — secure, but never tight enough to restrict circulation.
Once you’ve fastened everything, do a quick check: the boot shouldn’t spin freely around the paw, but you should still be able to slide a fingertip underneath the strap without a fight. That’s the sweet spot.
Fit Matters: Preparing Your Dog for Long Distances
Sizing gets more important the longer the hike gets. A boot that feels totally fine on a five-minute driveway test can turn into a rubbing, blistering mess three miles into a real trail — and by then, you’re stuck dealing with it far from the car.
Too narrow, and the boot compresses the toes or crams pressure right onto the dewclaw. Too loose, and the paw slides around inside with every step, generating exactly the kind of friction that causes blisters.
Measure your dog’s paws while they’re standing normally, bearing full weight — not lifted in the air, not sitting. Record length and width for each paw, then check those numbers against the manufacturer’s actual sizing chart rather than guessing based on breed or body weight, which is a surprisingly common (and surprisingly unreliable) shortcut.
Before committing to a longer hike, take the time to measure your dog’s paws accurately and train them so your dog has a real chance to get comfortable in the boots before you’re both miles from anywhere.
A properly fitted boot allows normal paw flexion without letting the foot shift around inside. Your dog should be able to walk, trot, sit, and pivot without repeatedly stopping to kick at the boot or trying to chew it off — that’s usually a sign something’s not right, not just a quirky personality trait.
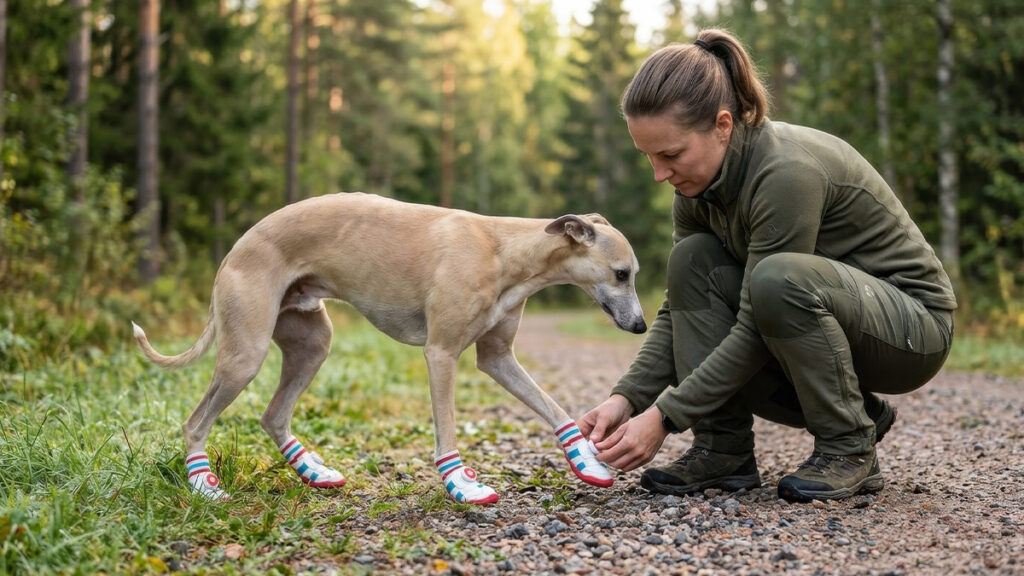
Training matters just as much as measurements — arguably more, if we’re being honest. Introduce new footwear gradually: a few short indoor sessions first, then casual outdoor walks, and only then work up to longer hikes. Almost every dog does that awkward, high-stepping shuffle the first time boots go on — it’s completely normal and usually fades within a session or two.
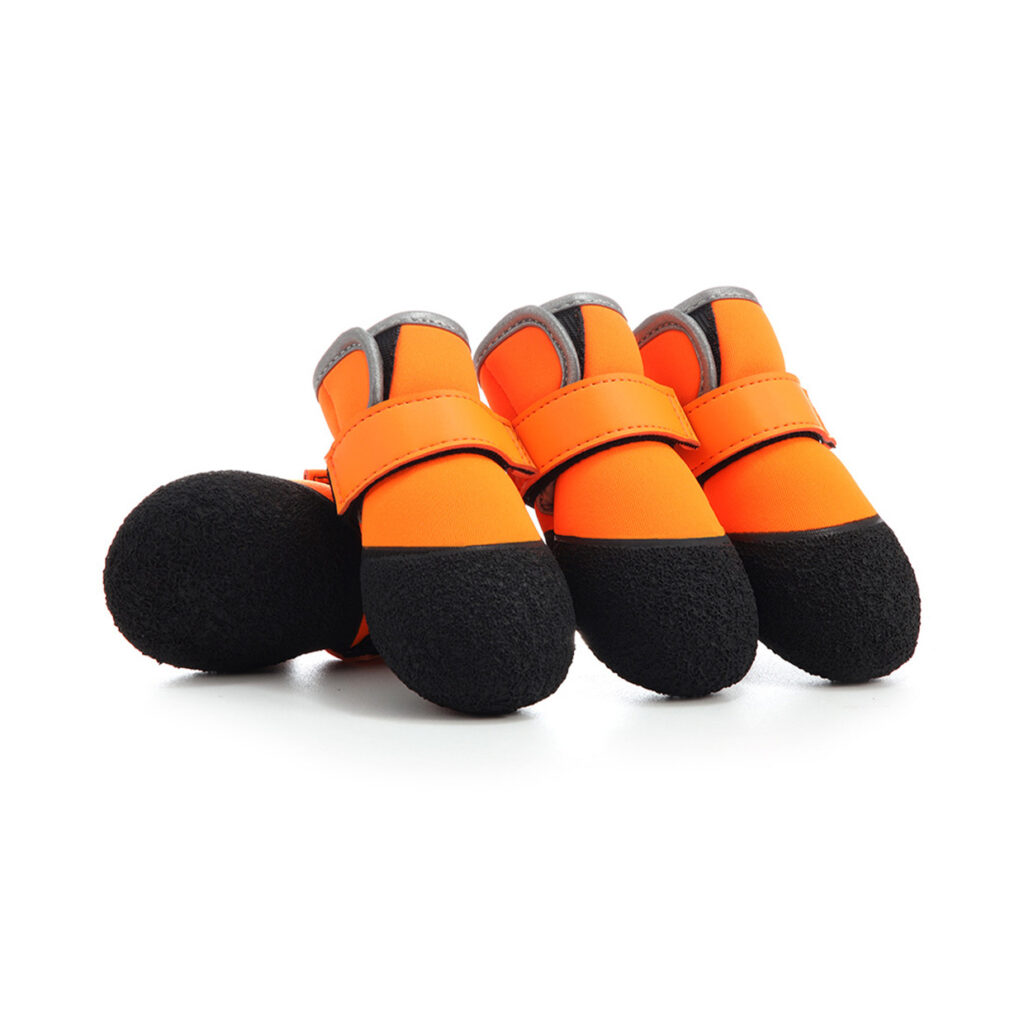
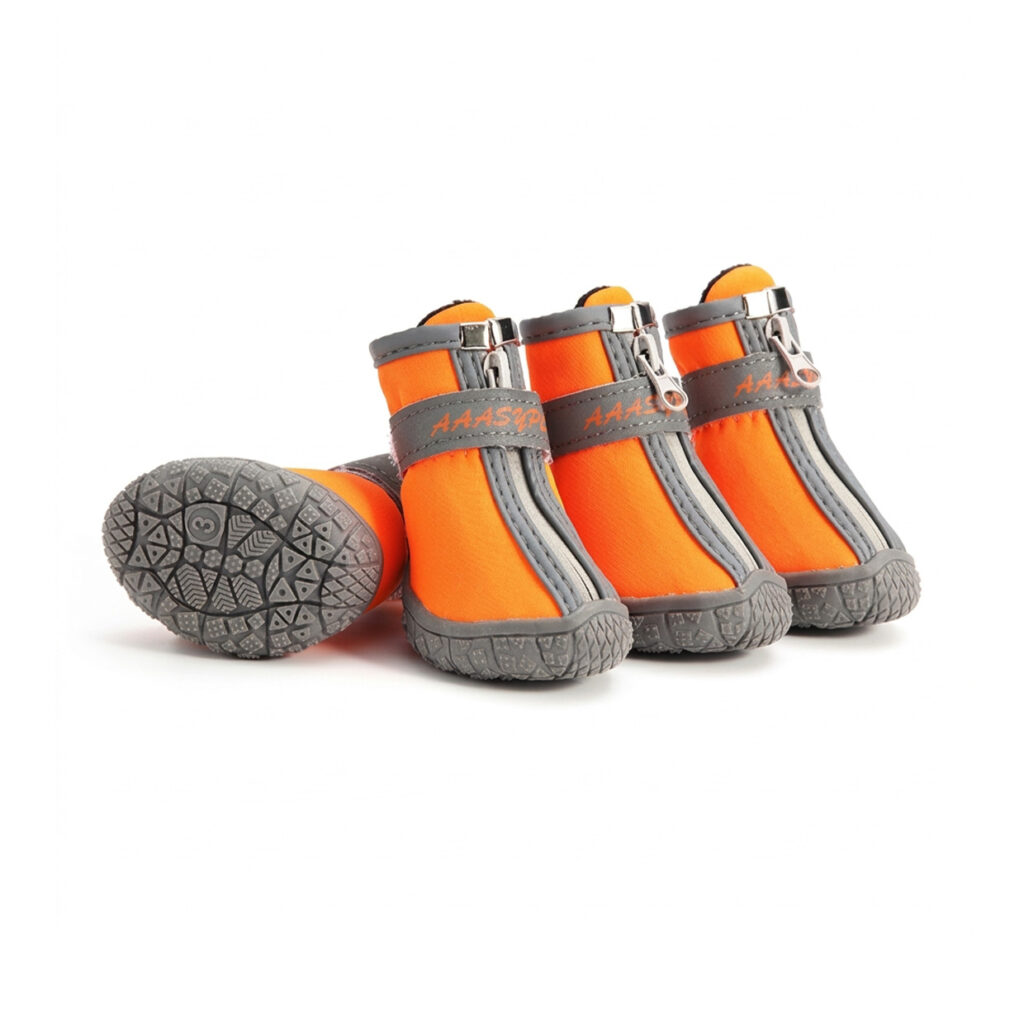
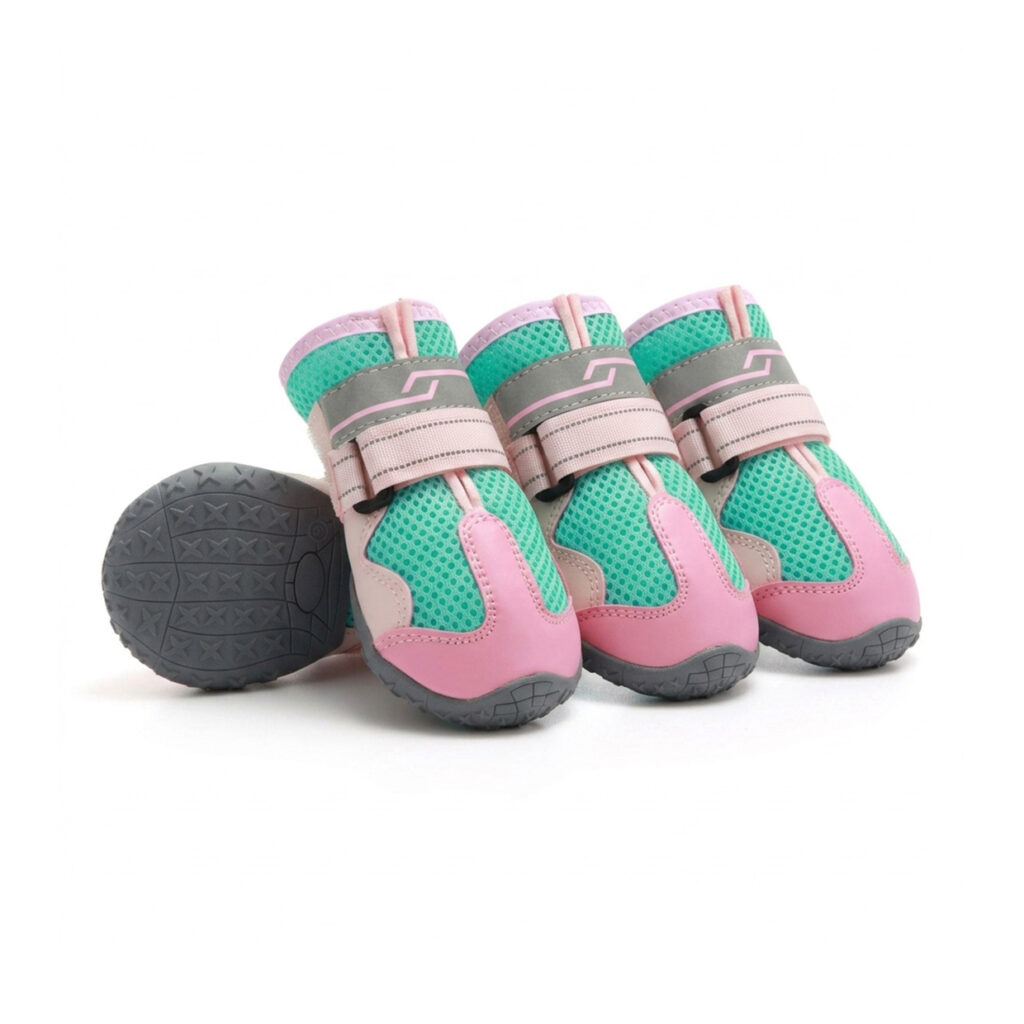
If your dog has never worn footwear before, our lightweight lightweight dog shoes can be a gentler starting point before graduating to heavier-duty hiking boots.
Lightweight Dog Shoes

Post-Hike Routine: Care and Maintenance
The hike isn’t really over the moment you get back to the car — not if you want to catch small problems before they turn into vet visits. A few minutes of post-hike inspection can save you a lot of grief.
Pull the boots off and check each paw on its own. Look between the toes for trapped gravel, plant matter, or thorns, and keep an eye out for redness, swelling, cuts, or spots that seem tender to the touch.
Pay extra attention to the edges of the paw pads. A small abrasion that looks like nothing right after the hike can turn painful once your dog is back to normal running and jumping around the house.
Give the boots themselves a quick clean after muddy or wet outings — clear dirt out of the outsole grooves and check the straps for grass seeds, burrs, and stuck debris that can rub the next time they’re worn.
Let wet footwear air-dry completely somewhere well-ventilated before you put them away. Skip the space heater or direct sun — excess heat breaks down adhesives, rubber compounds, and technical fabrics faster than you’d think.
If the pads look a little dry or mildly cracked, a vet-approved paw balm can help support normal skin condition. For a more thorough daily paw care routine, our treating cracked paws after outdoor adventures guide covers it in detail.
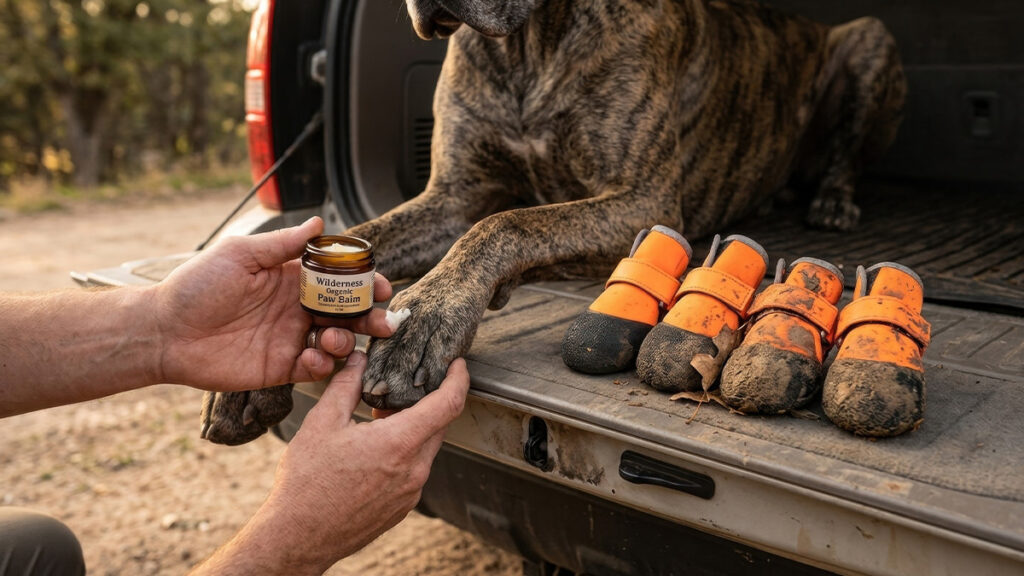
One important note: if your dog develops persistent limping, visible bleeding, significant swelling, deep cuts, or you suspect something’s embedded in the pad, stop the activity and get veterinary attention rather than pushing through the rest of the hike.
Frequently Asked Questions (FAQ)
Are dog hiking boots really necessary for every hike?
Not every single one, no. A quick loop around a well-maintained neighborhood park probably doesn’t call for heavy-duty boots, especially on smooth, hazard-free ground.
But once you’re talking jagged rocks, sharp brush, scorching surfaces, deep snow, or long gravel stretches, the risk goes up fast — and that’s exactly where durable dog hiking boots earn their price tag.
The real question isn’t “is this technically a hike?” It’s terrain, distance, weather, and how your dog’s paws are holding up. Those factors should drive the decision, not the label on the activity.
How do I stop my dog’s boots from falling off in the mud?
Start with the basics: a properly sized opening and a solid dual-strap fastening system. Snug enough to stop rotation, loose enough that circulation isn’t an issue — that’s the balance you’re after.
Before you head into anything muddy, walk your dog on flat ground for a few minutes first and watch whether the boot shifts at all. Any rotating or sliding? Fix the straps before you go any further.
For dogs with narrower legs or paws that don’t quite match standard shapes, properly fitted dog socks underneath can add a bit of extra grip and cut down on internal movement.
Can my dog wear hiking boots in the summer?
Absolutely — summer is honestly one of the best times to use them. Asphalt, sand, and exposed rock can get dangerously hot, hot enough to burn paw pads in minutes on a bad afternoon.
For warm-weather trips, go for boots with a breathable upper instead of anything built for winter insulation. The outsole still needs to hold up to sharp rocks and rough ground — breathable doesn’t mean flimsy.
Beyond the boots, schedule tougher hikes for the cooler parts of the day and build in real water and rest breaks. A quick trick: if the pavement’s too hot for the back of your bare hand after five seconds, it’s too hot for your dog’s paws.
How long does it take for a dog to get used to wearing outdoor boots?
Most dogs settle in somewhere between three and seven days, though every dog is different — some take to it almost immediately, others need a bit more patience.
Start small: five-minute indoor sessions, high-value treats for calm behavior, and gradually increasing time in the boots. Only move to outdoor walks once your dog can move around comfortably inside.
Never force it. If your dog keeps freezing up, chewing at the boots, or clearly showing distress, take them off and reassess — either the fit’s off, or you need to slow the training down a notch.
What is the difference between everyday walking shoes and hiking boots?
Everyday dog walking boots are built around being light, flexible, and breathable — good for sidewalks and easy terrain, with basic protection layered in.
The best dog boots for hiking take it further: thicker, more abrasion-resistant outsoles, deeper tread, tougher fastening systems, and sturdier upper materials that can take a beating.
On technical trails, those extra features are what stand between your dog’s paw and punctures, sharp rock, mud, and repeated impact. For a casual walk around the block, though, the lighter shoe is usually the more comfortable choice anyway.
Conquer Any Trail with Confidence and Comfort!
Don’t let sharp rocks, thorny brush, or brutal trail conditions cut your next adventure short. Gear up your hiking partner with paw protection actually built for demanding terrain — not just something that looks good in photos.
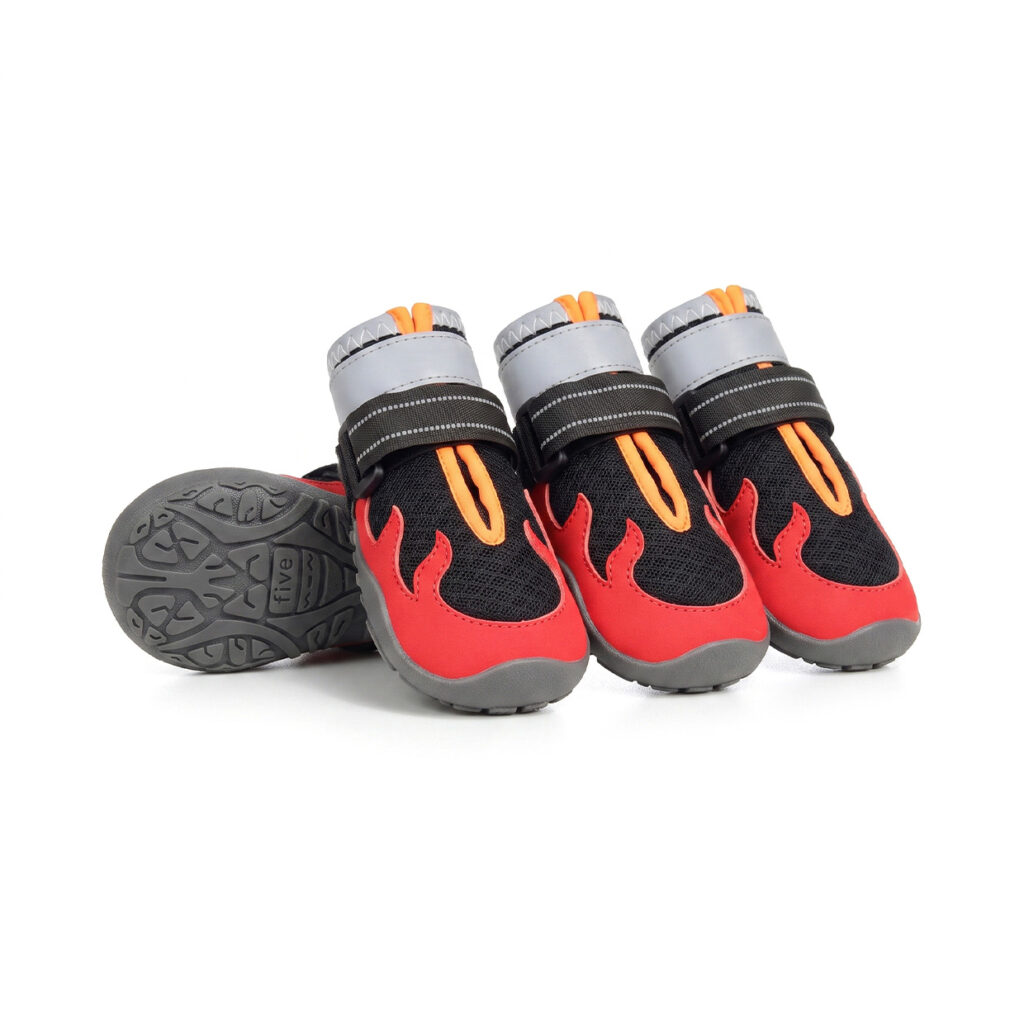
Browse our full lineup of rugged heavy-duty dog boots and all-terrain lightweight dog shoes, each designed with protective soles, secure straps, and all-day comfort in mind.
Dog Hiking Boots Collection
Match the footwear to the terrain, give your dog time to break them in before the big hike, and make paw checks a non-negotiable part of every trip home. Get that combination of fit, traction, and protection right, and your dog gets to cover more ground with paws that stay safer every step of the way.
